Sherry and John Petersik, the parents behind the popular blog Young House Love, know that stuffed animals are like bunnies—they multiply seemingly overnight and can overrun a kid's room before you know it. Their new book "Loveable Livable Home" shows us a clever, DIY way to an organize a collection of stuffed-animals without a single donation or broken hearts.
"Sometimes it feels like a miracle that our daughter doesn't drown in stuffed animals. (Seriously, how is there room in the bed for her?!) So if you've got someone who is similarly plush-obsessed, try finding those fluffy friends a new (but not too far away) home, thanks to a set of cardboard hatboxes," writes Petersik.
DIY Stuffed Animal Storage
Materials:
- Cardboard Hatboxes
- Spray paint or acrylic paint
- Hammer and nails
Directions:
- Determine your arrangement of hatboxes on the floor first. Since the set we bought at Jo-Ann Fabric and Crafts included varying sizes, a random layout worked best.
- Place each hatbox on a drop cloth, grouping those that will be painted the same color. We painted ours with Rust-Oleum Seaside, Lagoon and Candy Pink.
- Spray all sides (except the bottom) with thin, even coats. It may soak into the cardboard, so a second coat will likely be needed.
- Once the hatboxes are dry, hang them on your wall with a nail through the middle of each one and load 'em up!
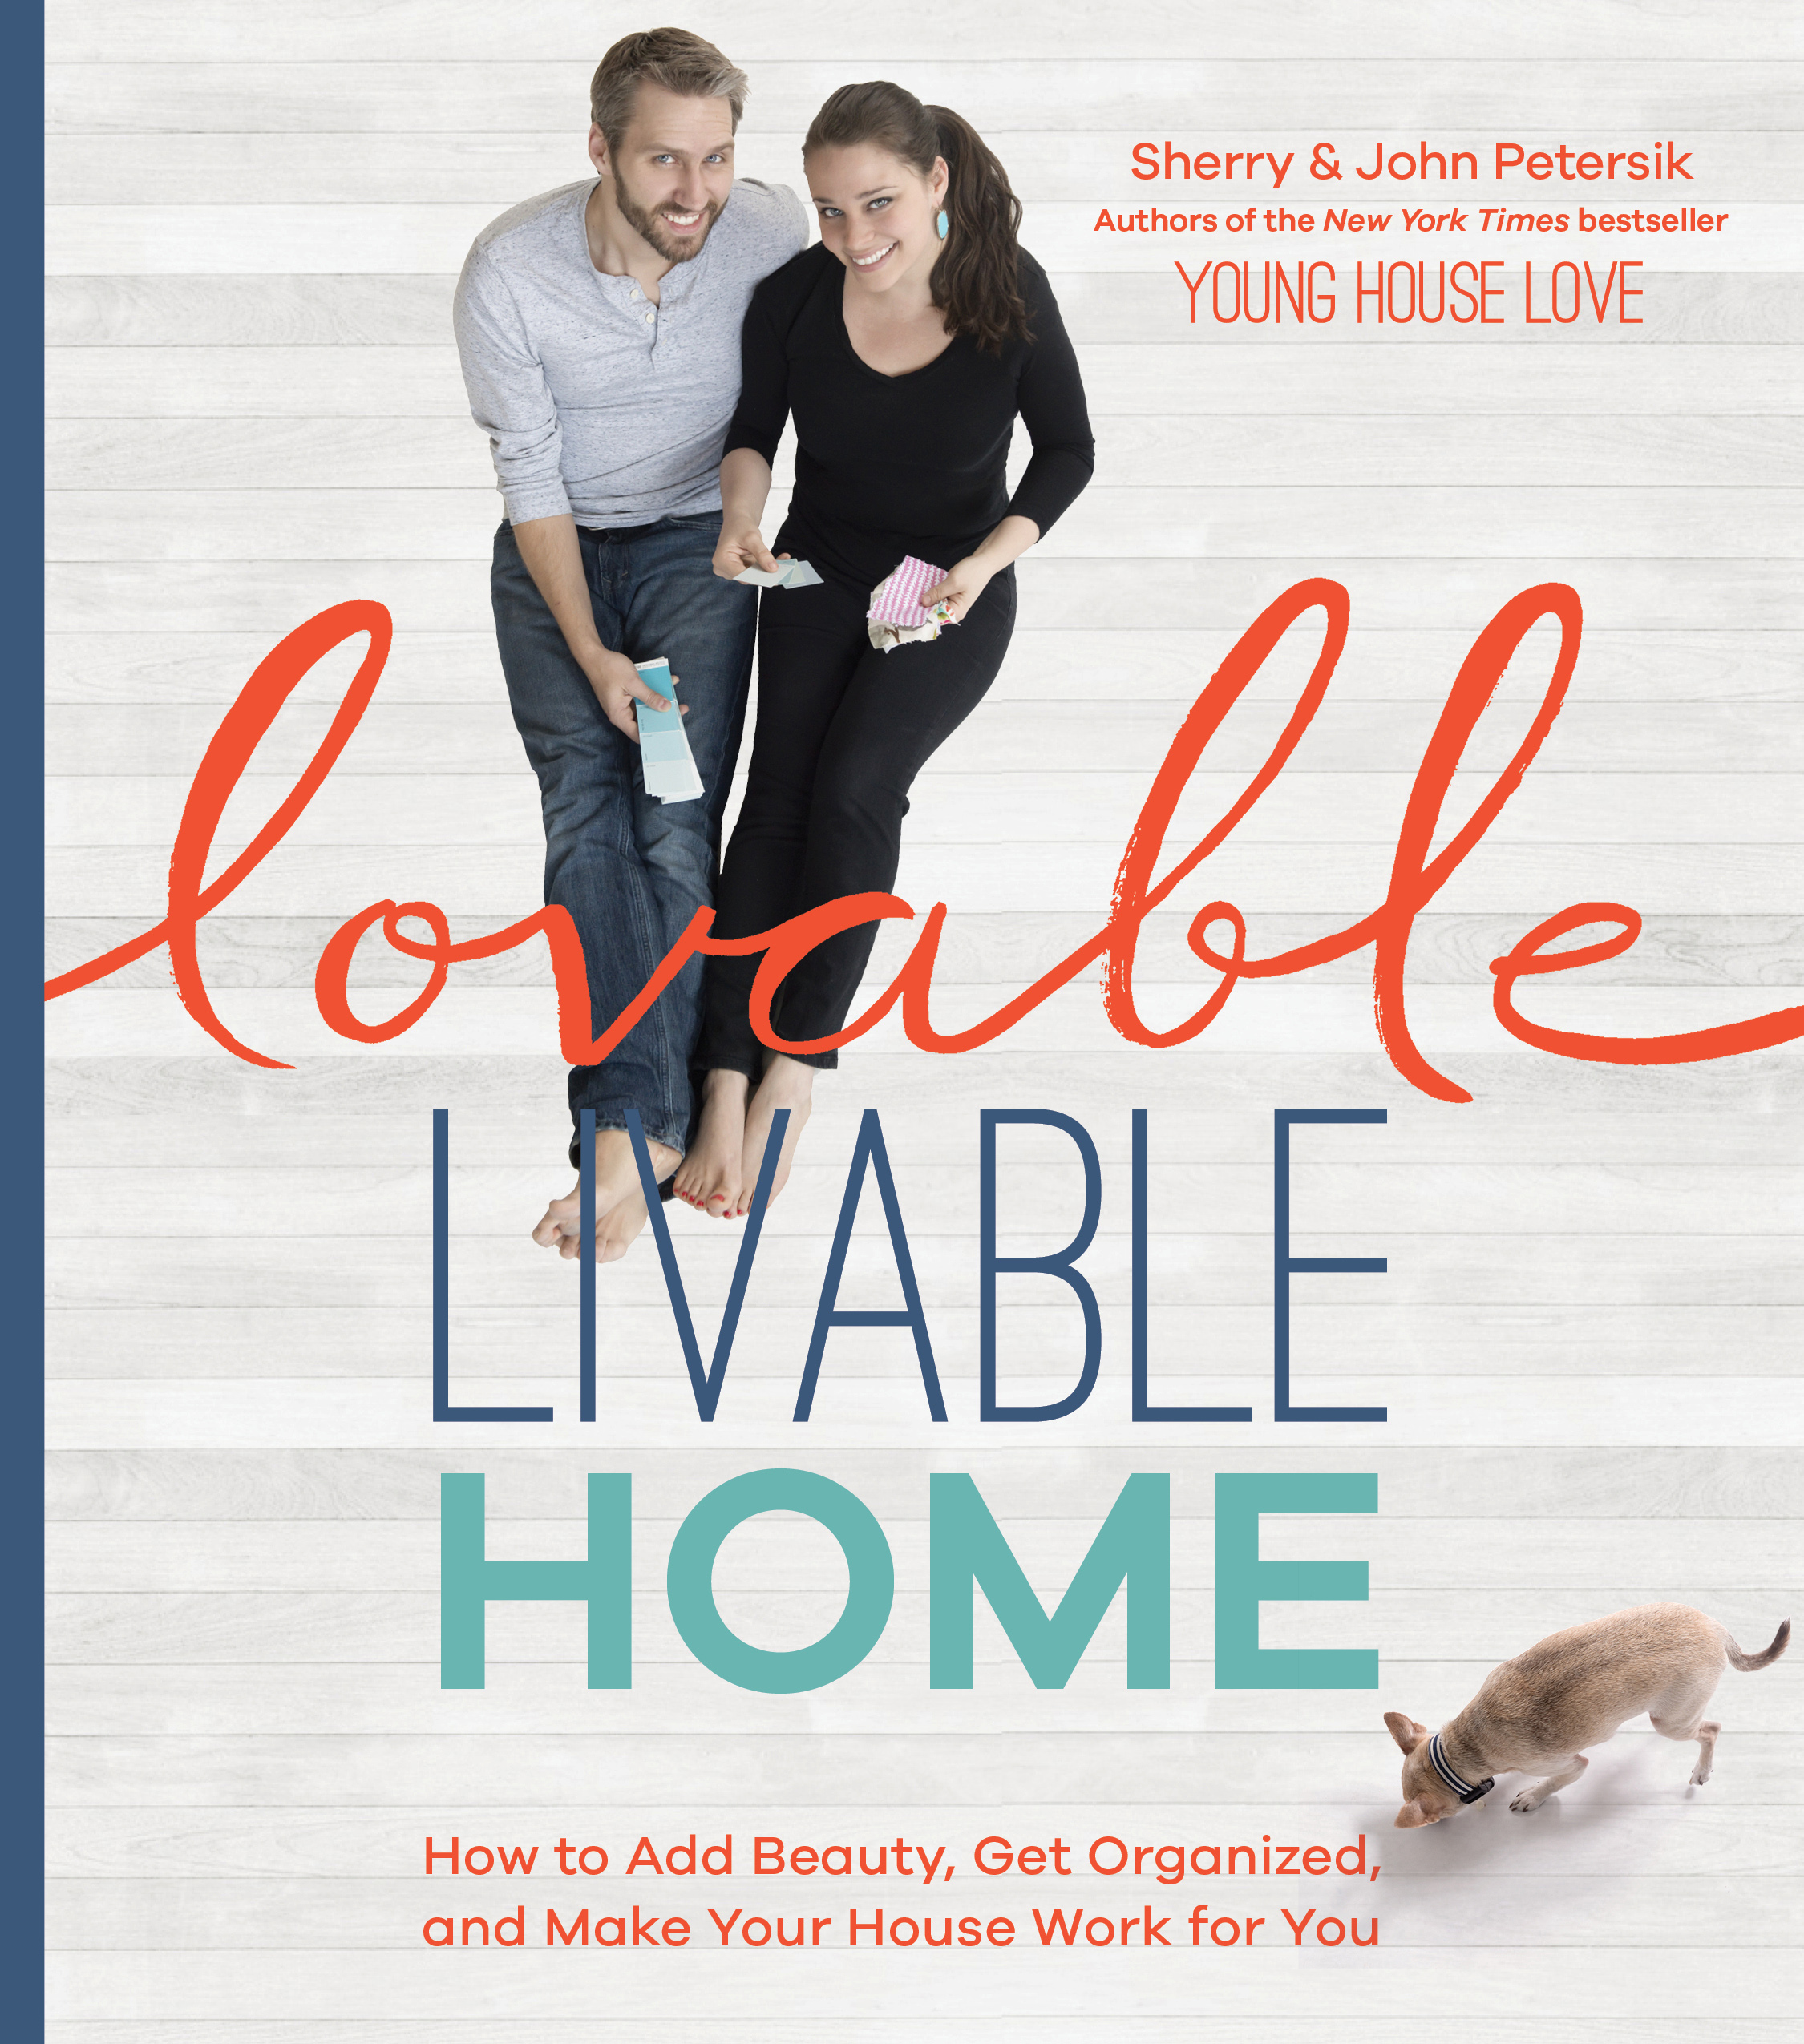
Available at Amazon. Excerpted from "Lovable Livable Home" by Sherry Petersik and John Petersik (Artisan Books). Copyright © 2015. Photographs by Todd Wright.
Love this? Follow us on Pinterest.
MORE: DIY Kid's Art Display