Clutter Be Gone

Clutter: It's the bane of every organizational aspiration. From the growing pile of mail on the kitchen counter to the closet of clothes you vow you'll someday wear again, the more our unwanted, unused stuff stacks up, the more burdensome it becomes. To jump-start our current clutter-free quest, we sought the expertise of professional organizer Katie Donohue of Placed by Katie Donohue, who helped us to create a 31 day-by-day plan— organized by sections of the house—to minimize clutter in simple, easy-to-complete steps. But the plan only works so long as you remember this crucial habit: "Clutter arises from not being mindful of what we have around us," says Donohue. "The way to get rid of it is to carefully look at what we use and what we don't use. Anything in that latter category must leave the house." (And, yes, the garage or basement counts as the house.) Let the clutter-free challenge begin!
Day 1: Have a Donation Plan
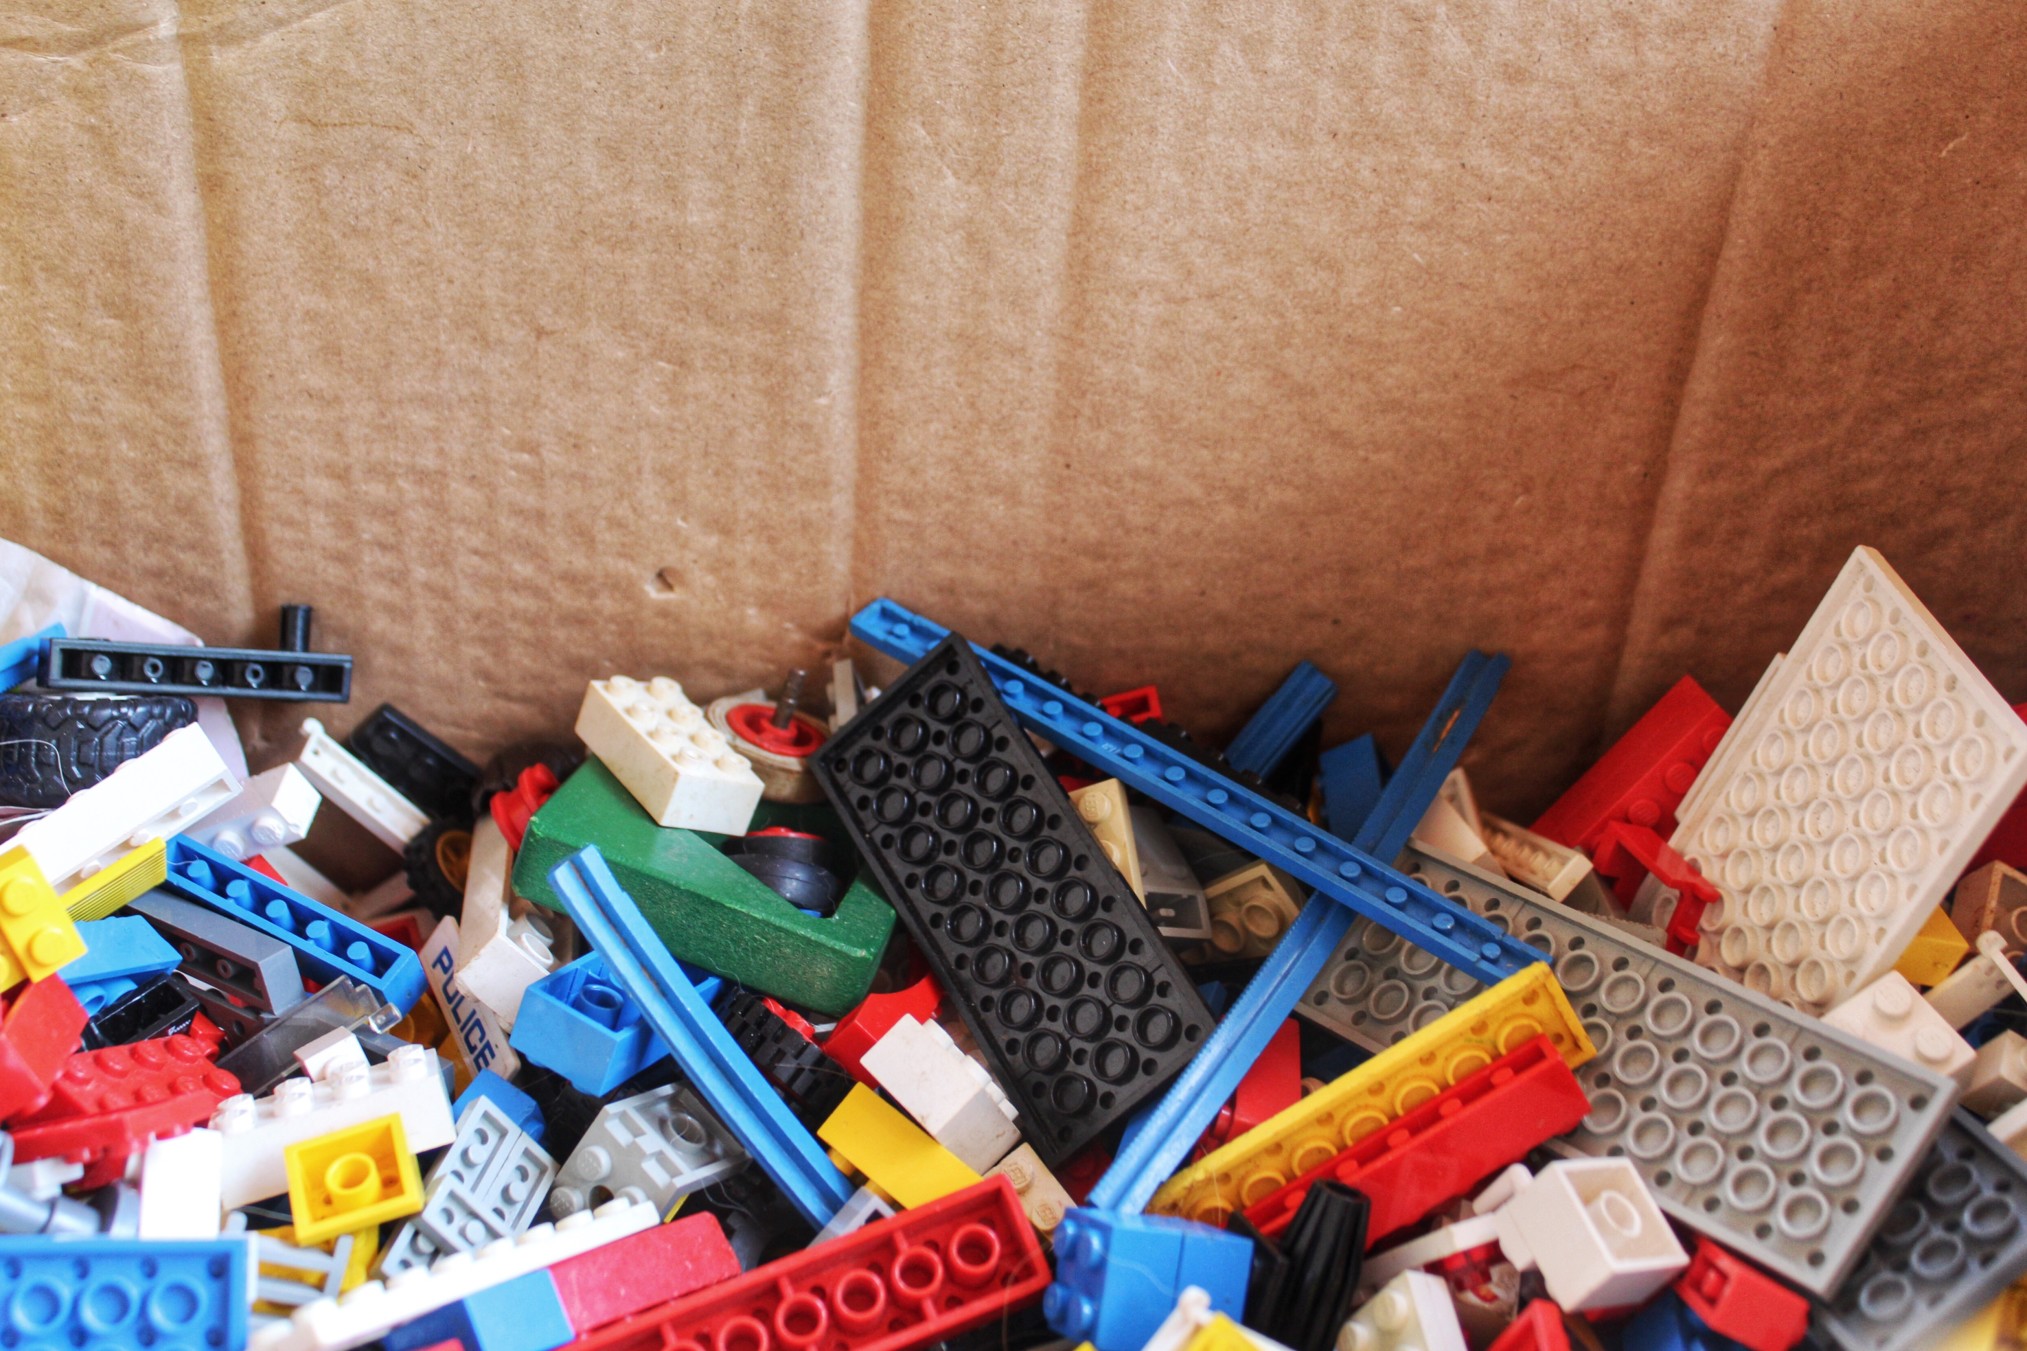
Before you jump into de-cluttering, Donohue stresses the importance of having a plan for what you'll do with all of your stuff— one that's both responsible and mindful of others and the planet. Instead of just throwing everything in the trash to save time and energy, do your homework on the places could really benefit from your donations as well as any places that accept hard-to-recycle items. For example, a women's shelter will gladly take clothes for women and toys for kids. Plus, it will motivate you to want to part with these items when you know they're going to people who truly need them, says Donohue. Also, recycling centers for clothing that's too worn to be donated can be found via the Council for Textile Recycling .
Day 2: Kitchen Pantry
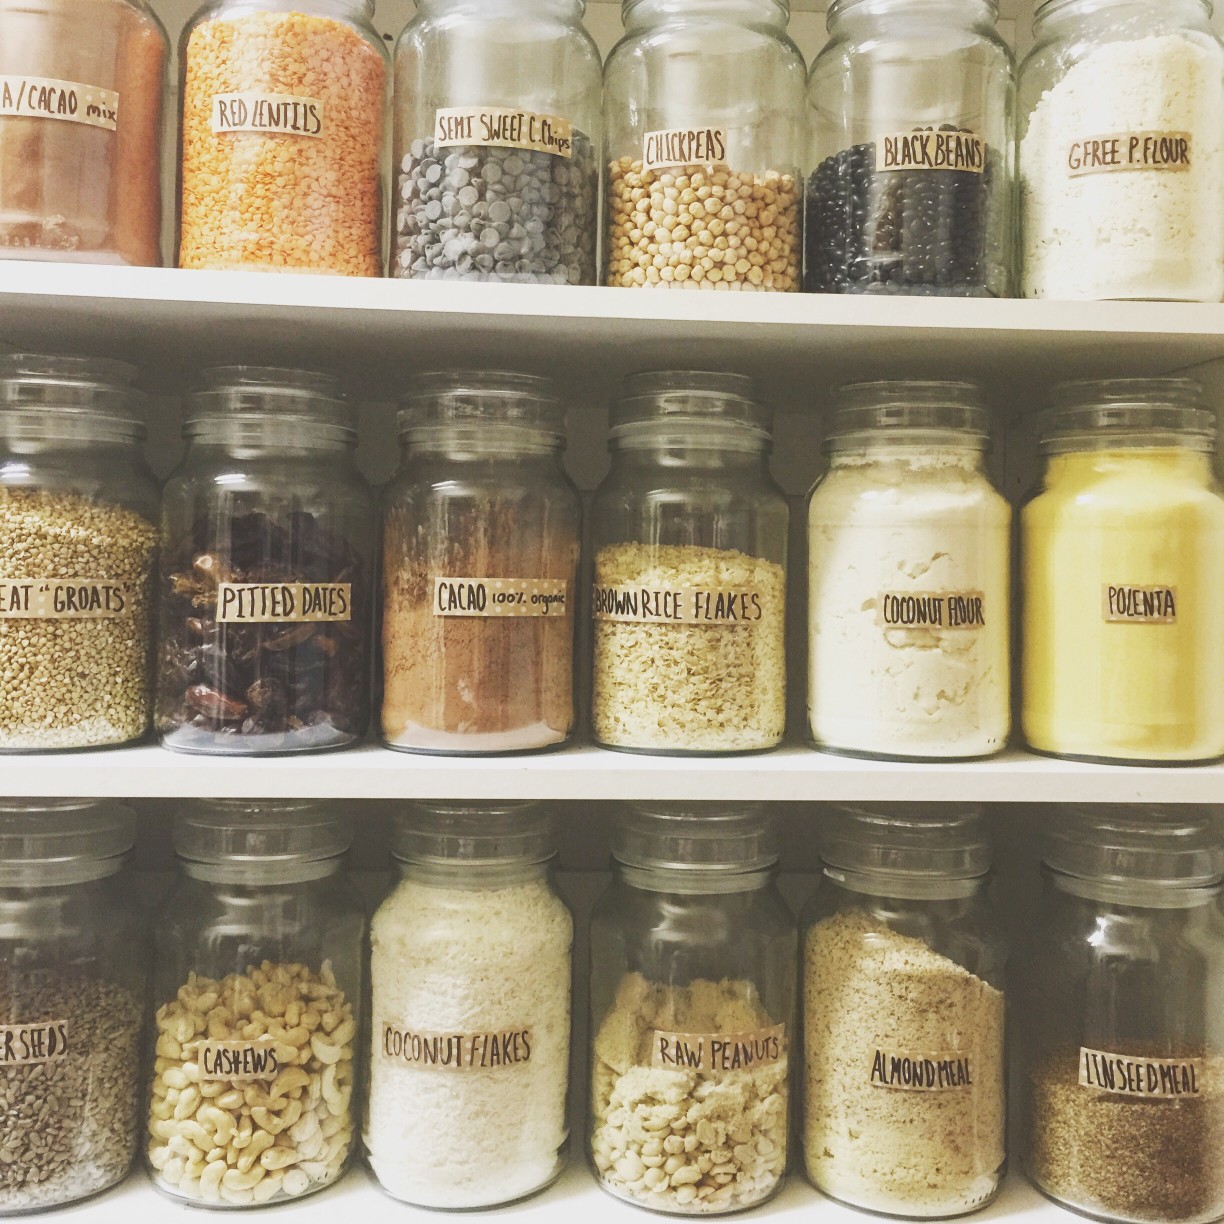
Consolidate all food pantry items. If you have multiple boxes of opened cereal, crackers or cookies, combine into one box or put them a shared canister. Move all food you use regularly to the front of the shelves and all unopened packages or cans to the back.
Day 3: Kitchen Pantry, Part 2
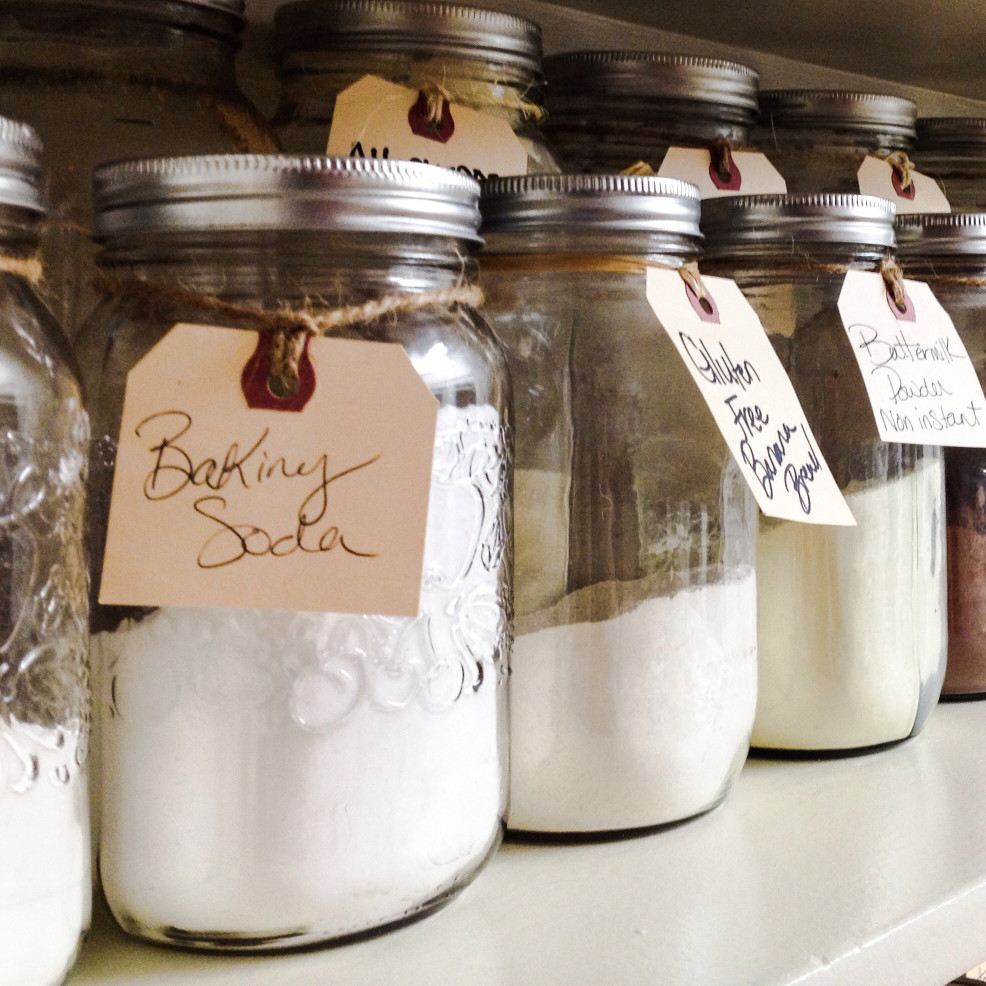
"A good way to declutter the pantry is to organize it by types of food," says Donohue. Group foods by meals: Breakfast, lunch, dinner, snacks and sweets (preferably higher up so they're a little more out of reach). Or, organize by food categories, such as crackers, nuts, dried fruits and baking items. Not only will this system make your pantry look neater, foods will be easier to find, too.
Day 4: Cooking Utensil Drawer
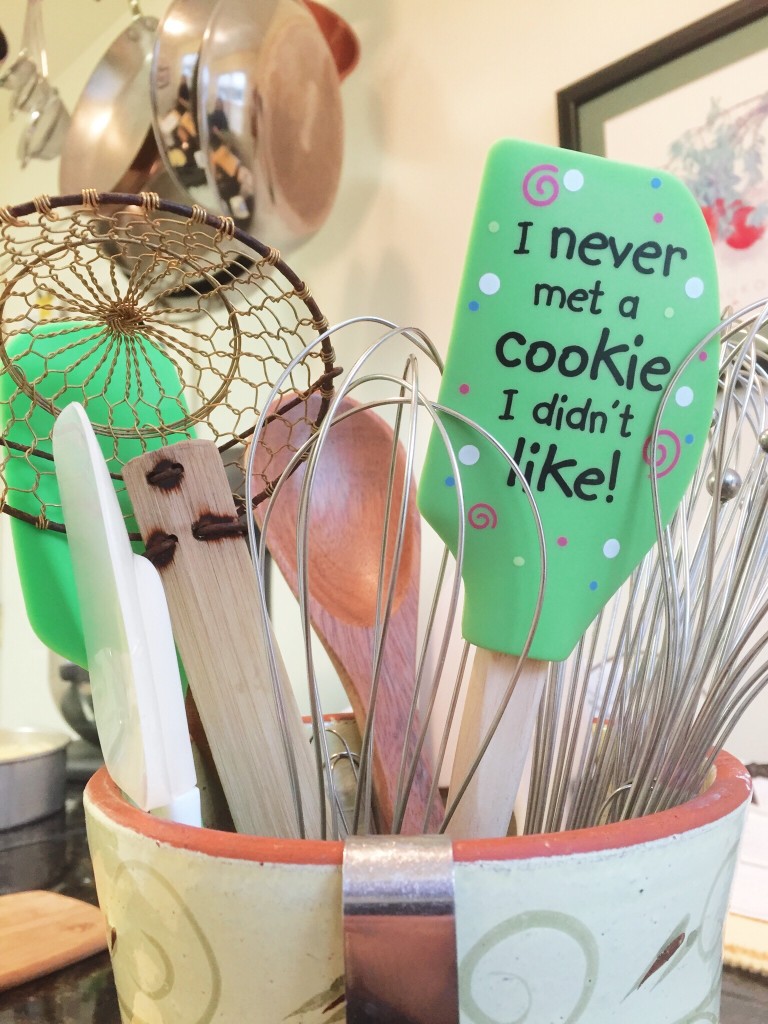
Pull out everything in the cooking utensil drawer and immediately donate items you have two or more of (even if one is plastic and the other is wood, you likely don't need two stirring spoons). Recycle plastic spoons that have melted or are wearing down for health safety.
Day 5: Mismatched Silverware
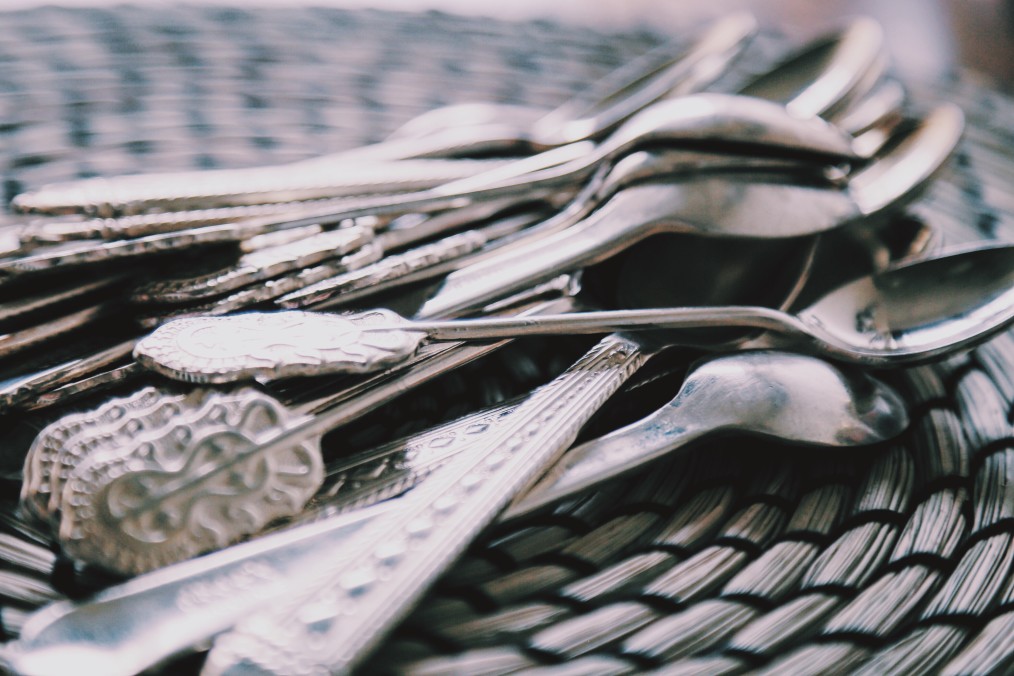
When two houses merge through marriage or as roommates, so does the silverware. It's time to choose which one you'll keep. Put the other set in the donation box.
Day 6: Mugs
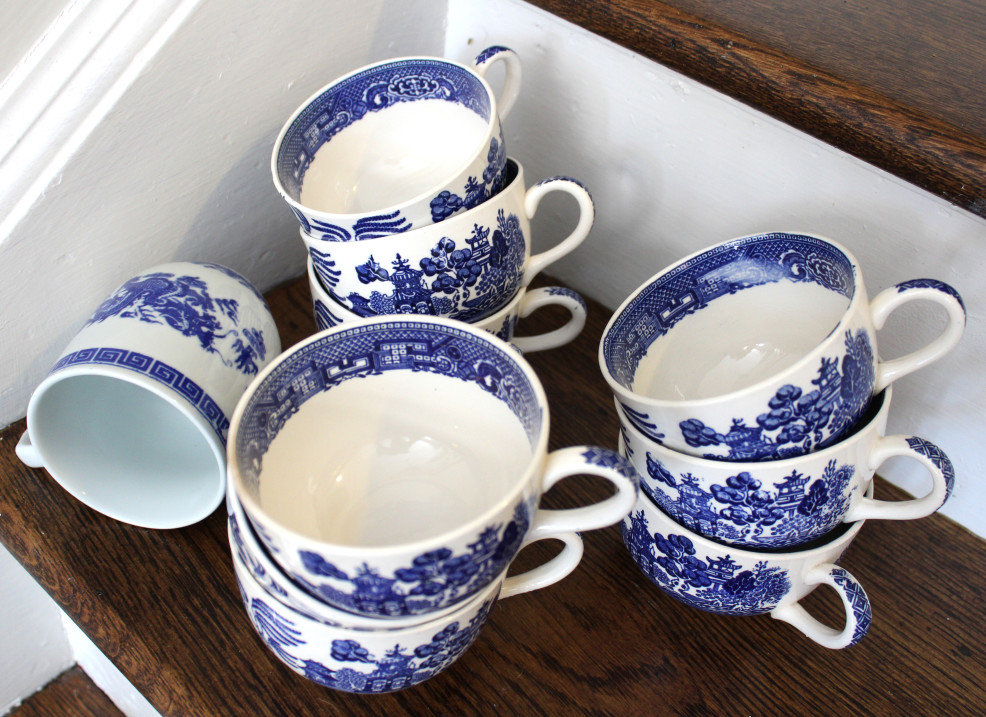
"Too many mugs is the most common 'clutter' I come across," says Donohue. "There's no need to have more than two mugs per person per day." A good rule of thumb is to keep the set of matching mugs that you have and donate the rest.
Day 7: Hard-to-Reach Shelves
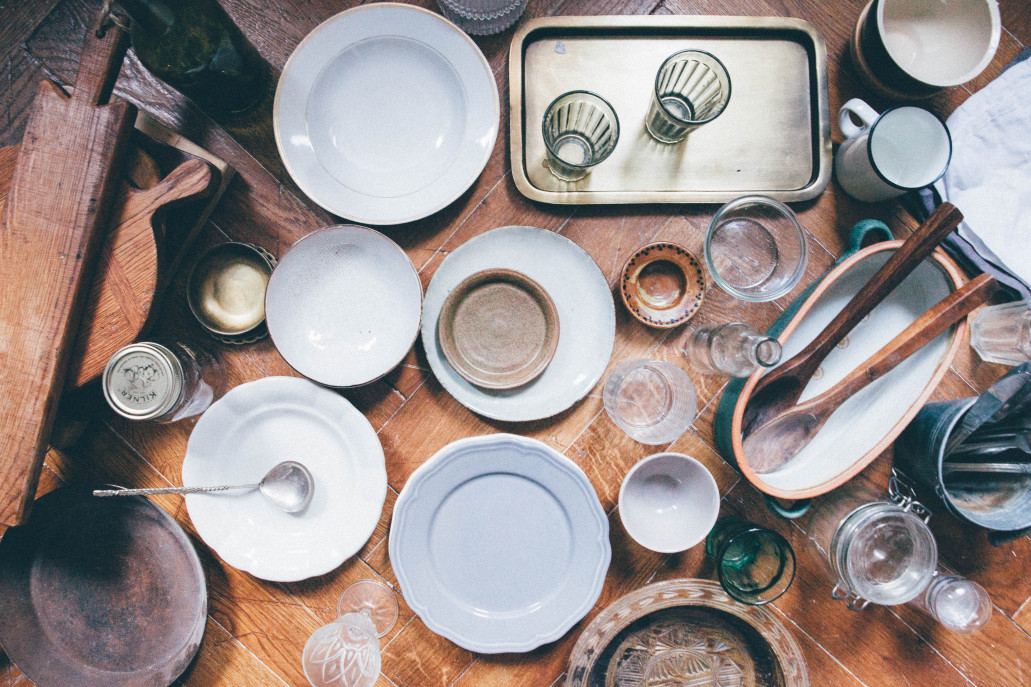
After the mugs have been sorted, take a hard look at the drinkware, bowls or plates on the hard-to-reach shelves. Does it hold your finest serving dishes that are reserved for special guests? Do you actually use them for those guests? If the answer is no, take down whatever you're storing and place in the donation box.
Day 8: Kids' Kitchen Items
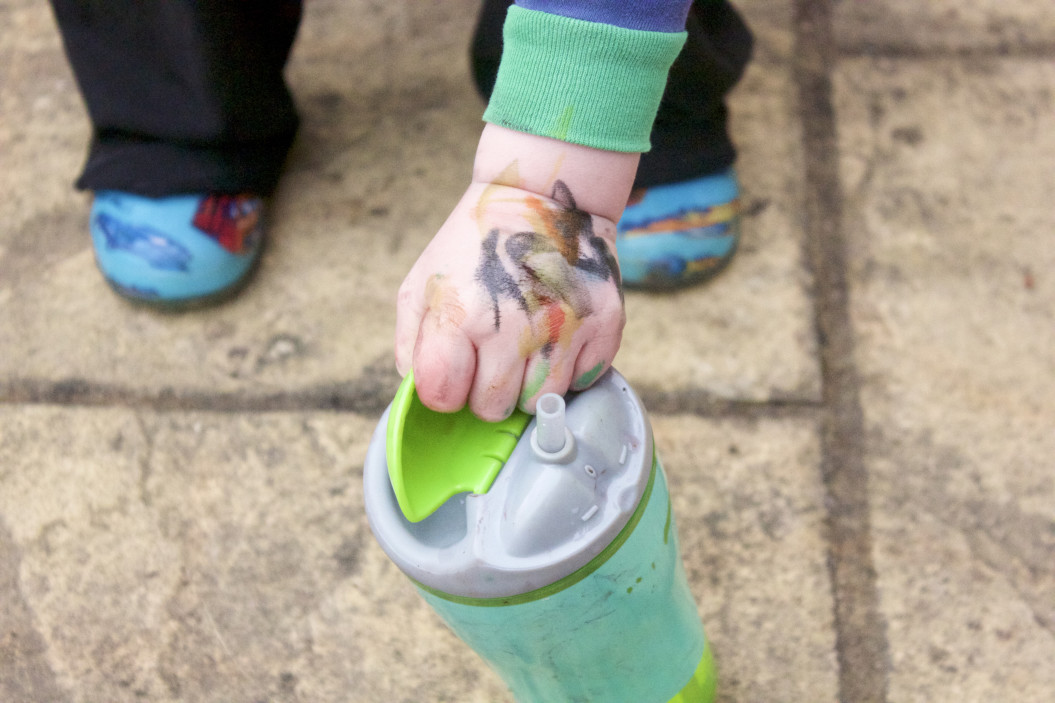
Chewed-through plastic straws, bent spoons and tattered sippy cups that are a decade old. Why are you hanging onto them? Recycle or donate whatever you can of these kids' kitchen items. If you're holding out for future kids, place the items in a labeled box and put in storage. But for now, they don't belong in the kitchen, says Donohue.
Day 9: Under the Sink
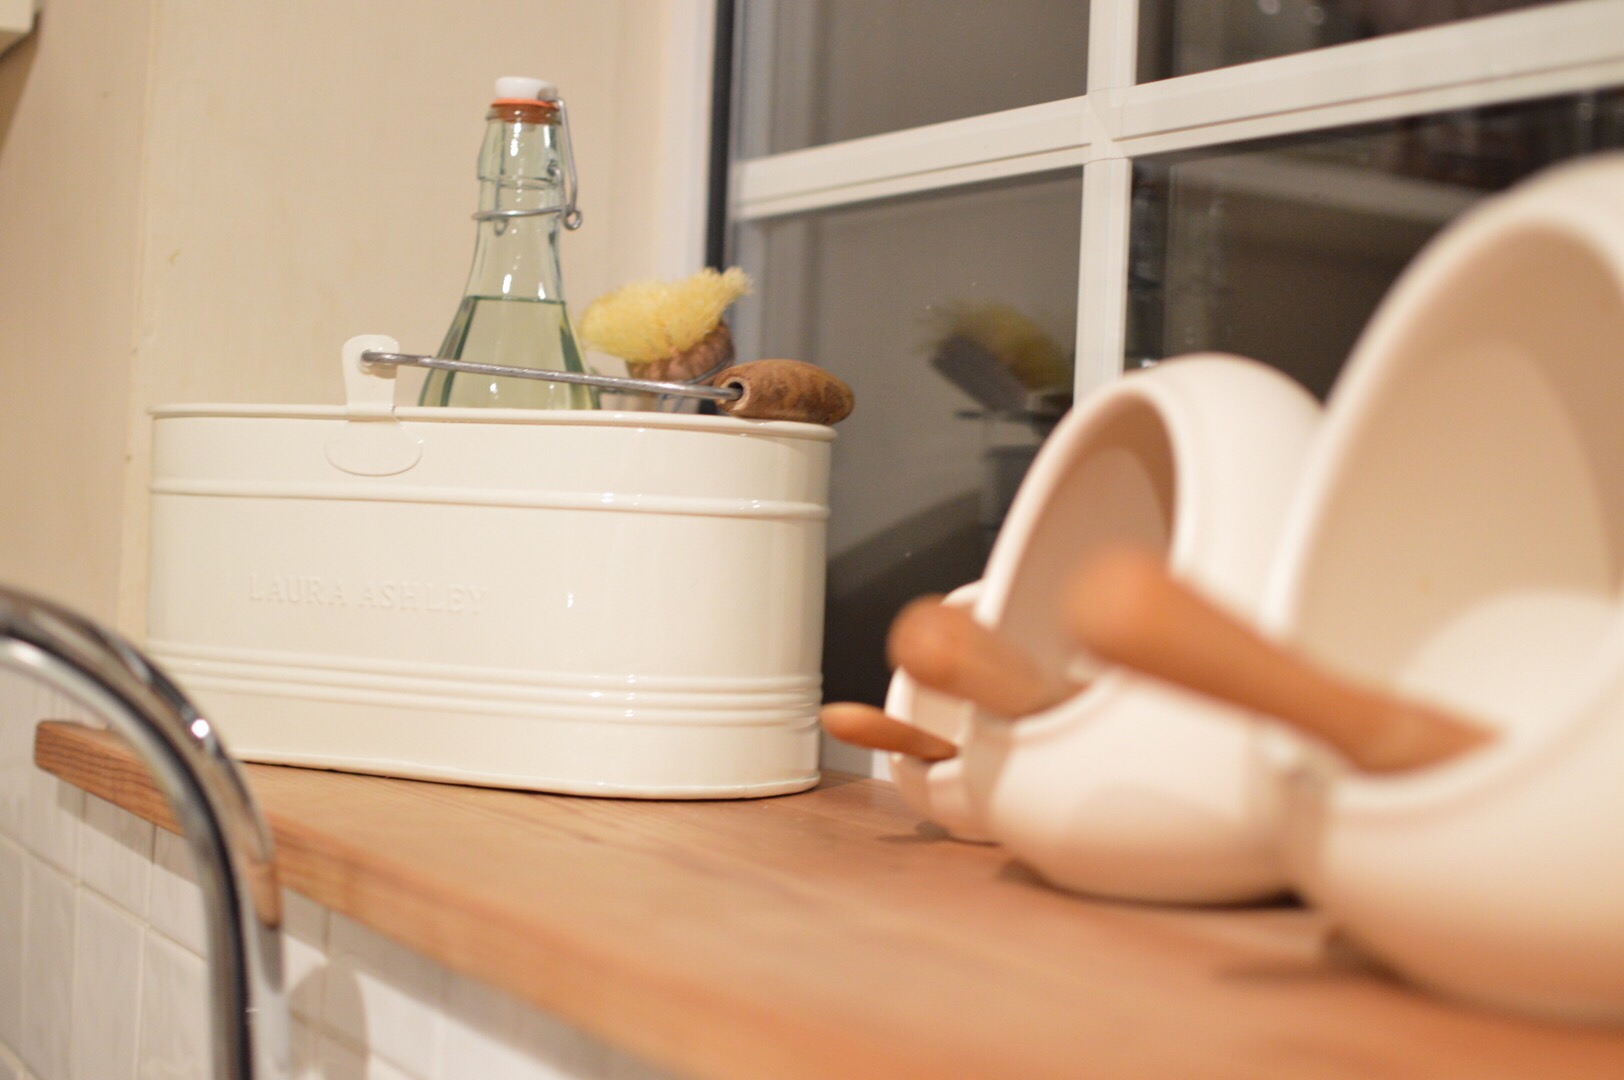
"This is an area that really should be de-cluttered monthly since stuff goes under there and then lives under there," says Donohue. In particular, pull out all cleaning supplies and toss whatever you don't use. Put the items you use regularly in the front (the dishwasher detergent and any counter sprays) and any items you use sporadically (silverware polish, for example) in the back.
Day 10: Countertops
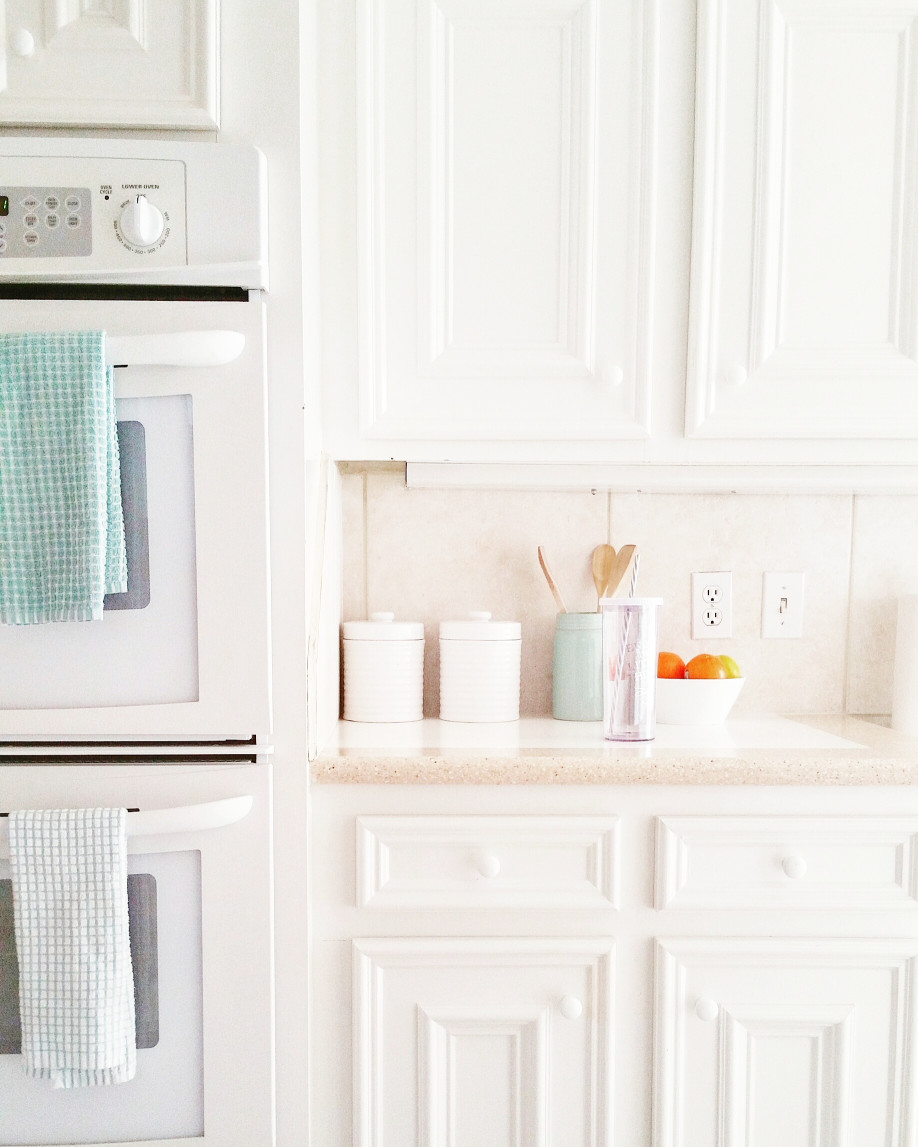
We probably don't have to tell you that the other term for counters might as well be "clutter magnets." For starters, remove any items from your kitchen counter that you don't use every single day, such as the blender, food processor, extraneous water bottles and any charging cords.
Day 11: Mail Maintenance
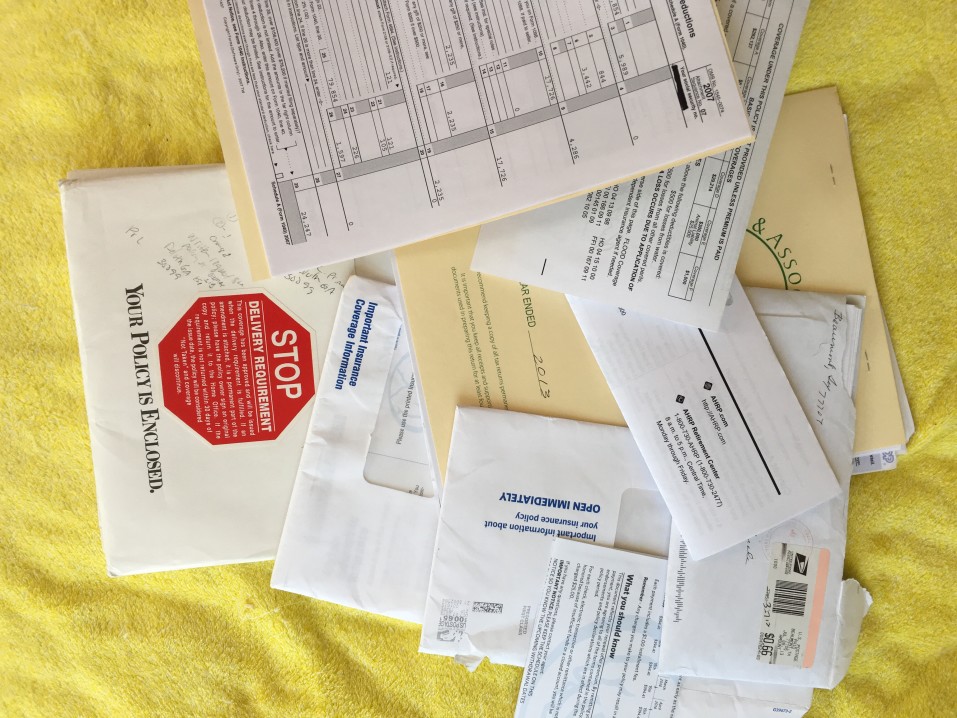
Another popular occupant of counter space? Junk mail. Starting today (and every day after that), get in the habit of sorting out all of your mail before a single piece leaves your hands and lands on the counter. As Donohue says, 90 percent of mail consists of bills and catalogues. "If you can deal with the 90 percent on a daily basis, it's much less overwhelming." For bills and other mail you do need, place them in a tray so that they stay better organized.
Day 12: Unsubscribe from Catalogues
If you're serious about de-cluttering, this is about to become your new favorite app: Paper Karma. All you have to do is take a picture of whatever unwanted mail you want to stop receiving and Paper Karma will unsubscribe you. Donohue especially recommends unsubscribing from all catalogues. "Catalogues just make us feel the need to get more stuff we really don't need," she says.
Day 13: The "Feel Good" Experiment
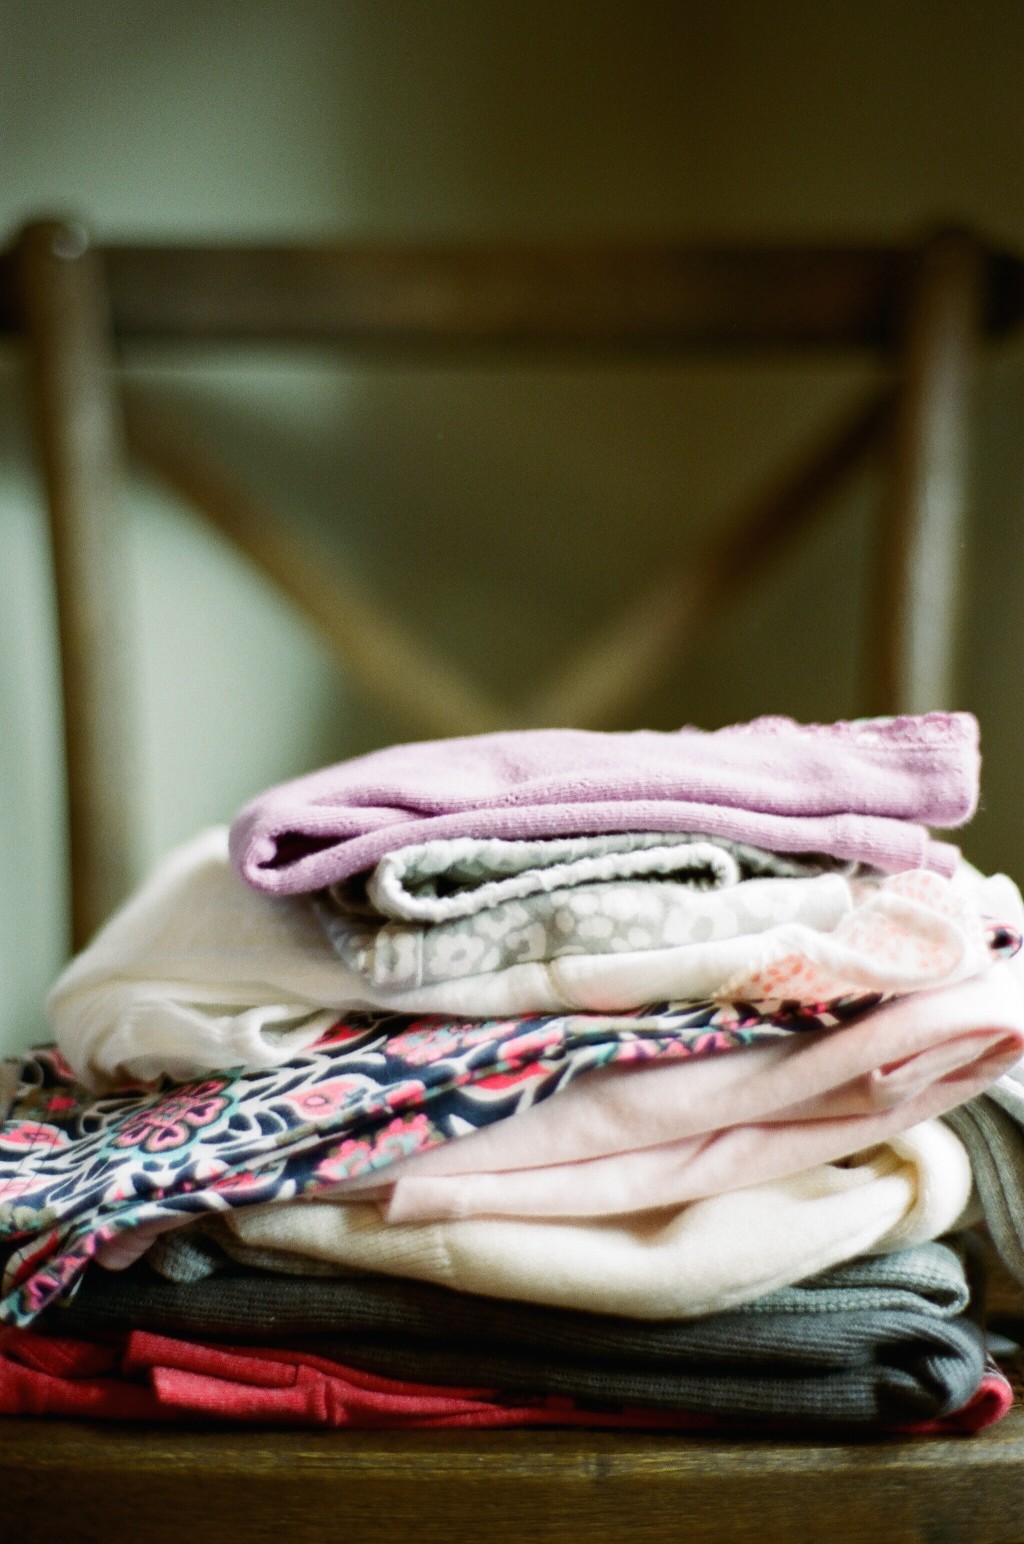
Just the thought of de-cluttering a closet can paralyze our clutter-free motivation. That's why we're going to go through this process step by step today. Step 1: Get a bag for donations to keep in your closet for the next few days. Step 2: Go through each piece of clothing and ask yourself: "Does this make me feel good when I wear it?" If the answer is "sort of" or "it will when I lose that five pounds," immediately put it in the bag. And when it doubt, remember this: "Holding onto anything that used to fit is like keeping an ex in the closet. There's no need to have a bad memory or feel bad about yourself. So only keep things that fit well and make you feel good," says Donohue.
Day 14: Shoes Clean-Out
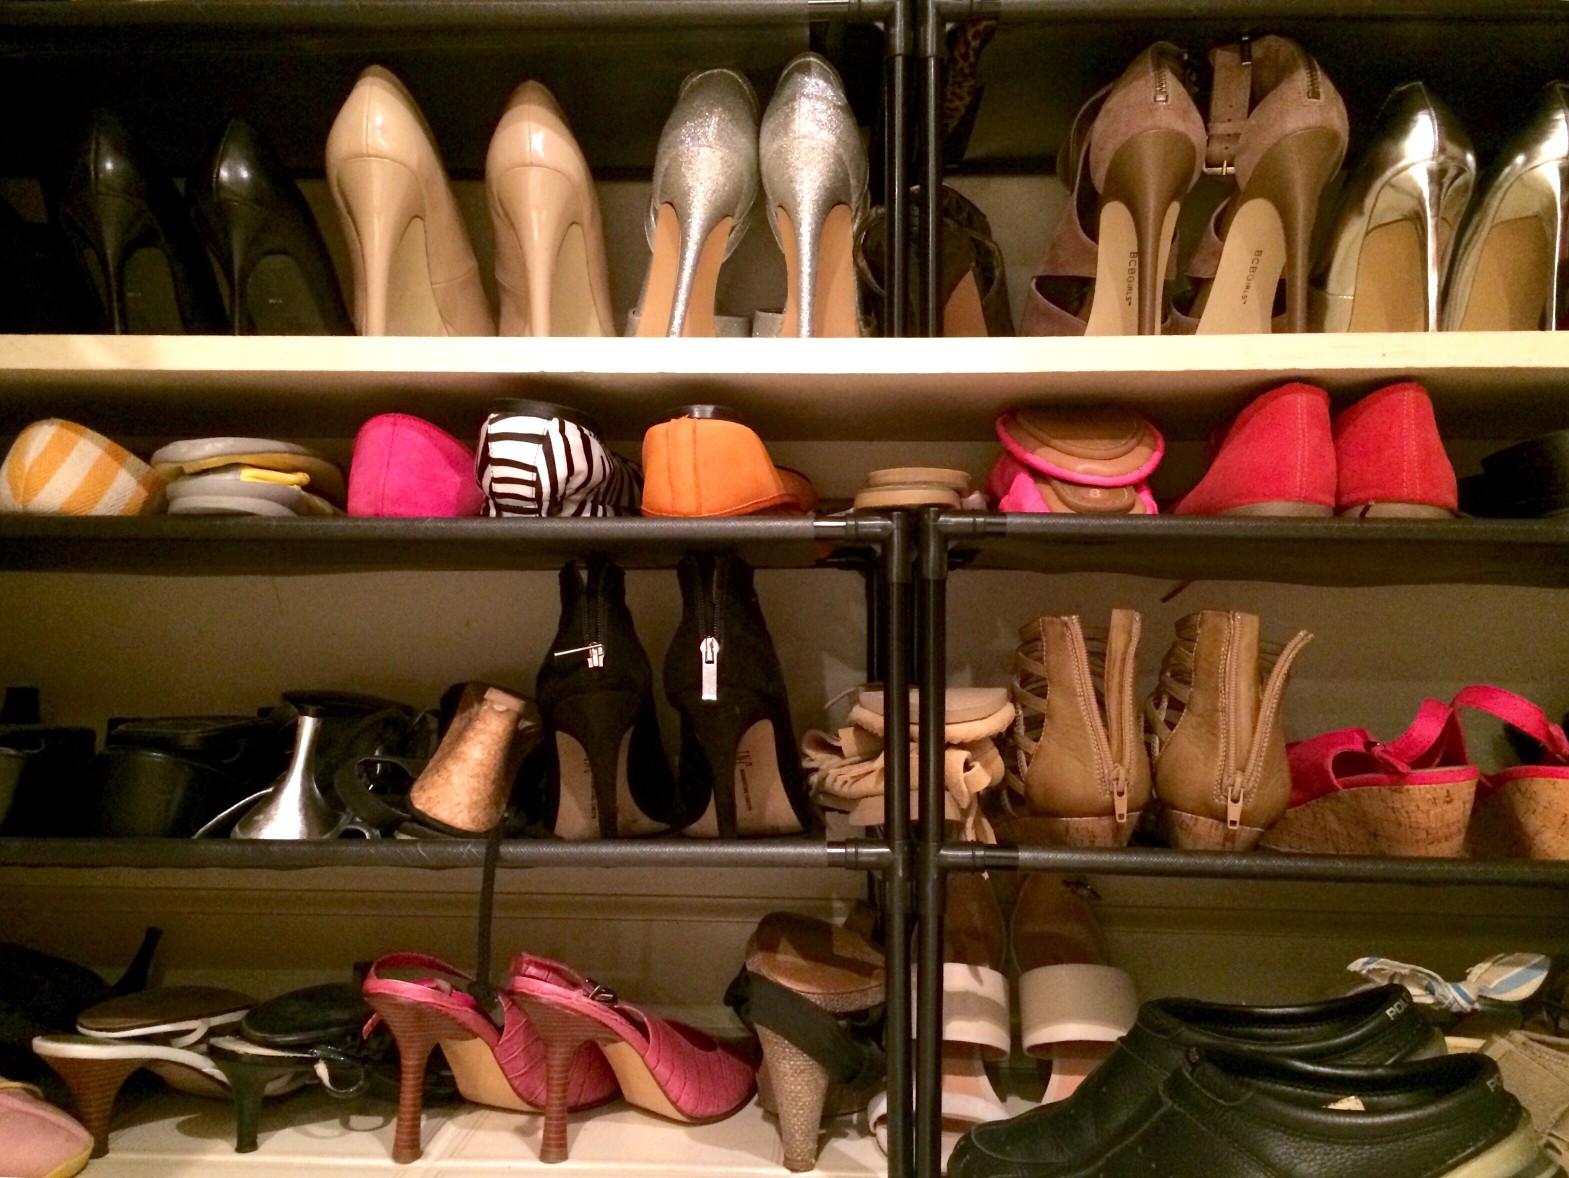
Repeat Day 12's process with your shoes. If they don't fit well anymore, give you blisters or are impractical, it's time to say goodbye—no matter how much they cost . Either donate or—if you want to feel better about losing what you spent—re-sell them at a consignment store or consigning website, like Thread Up, suggests Donohue.
Day 15: Purse Clean-Out
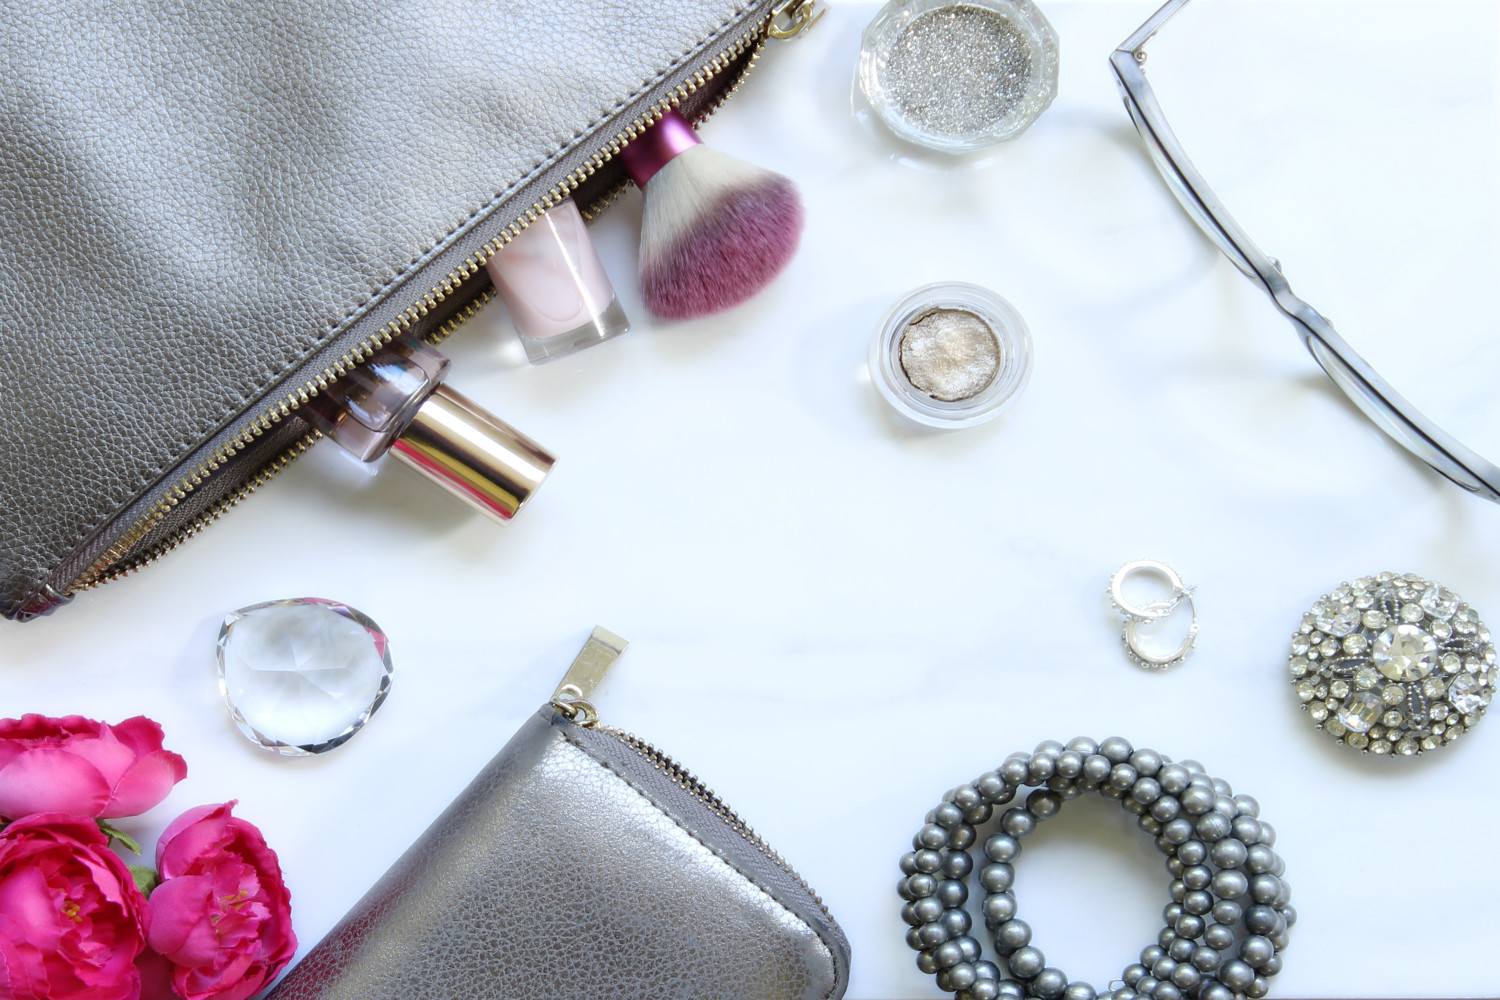
Let's keep that clean-out momentum going with purses and bags today! First, decide on the ones you like and use regularly. The others, put in the donation or consignment bags. Next, go through the ones you want to keep and remove all clutter from those, including receipts, makeup, mints, tissues and hair bands. (You asked for a clutter-free challenge. And a 100 percent clutter-free challenge is what you're gonna get, purses included.)
Day 16: New Hangers

Hangers of all different sizes, shapes and materials might not seem like they're causing obvious clutter. But once you stick to one type of hanger, we promise you'll notice a difference. Not only will your closet look more neat and orderly, everything will hang at the same level, keeping clothes from getting overshadowed and forgotten, notes Donohue. Her favorite hangers are the Black Huggable Hangers by Joy Mangano.
Day 17: Seasonal Sorting
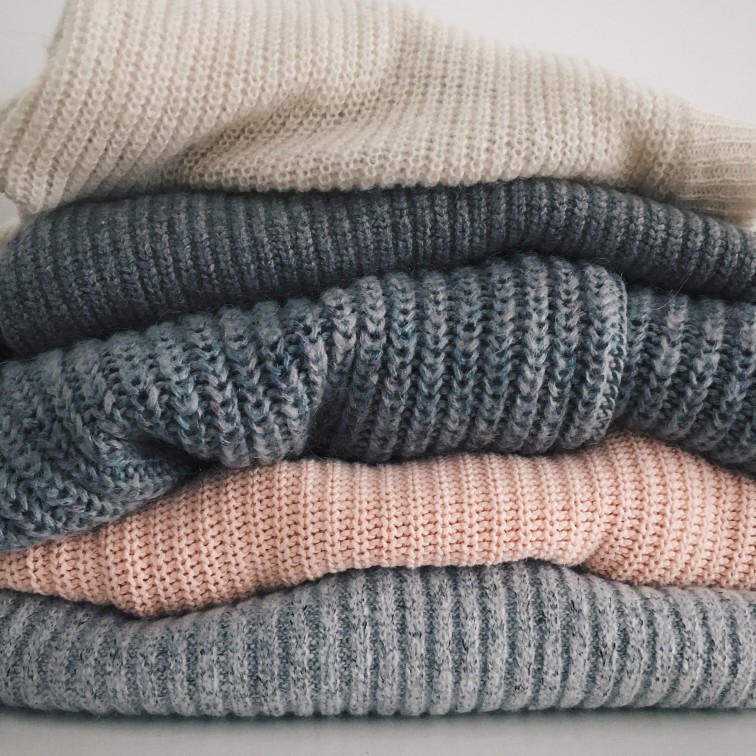
Once you've decided what's staying in your closet, it's time to organize by season. Any clothing or shoes that are off-season should immediately go in storage boxes or to the back of your closet (neatly folded or hung). Bring all clothing or shoes for the current season forward to easily accessible areas of the closet.
Day 18: Pick a Theme
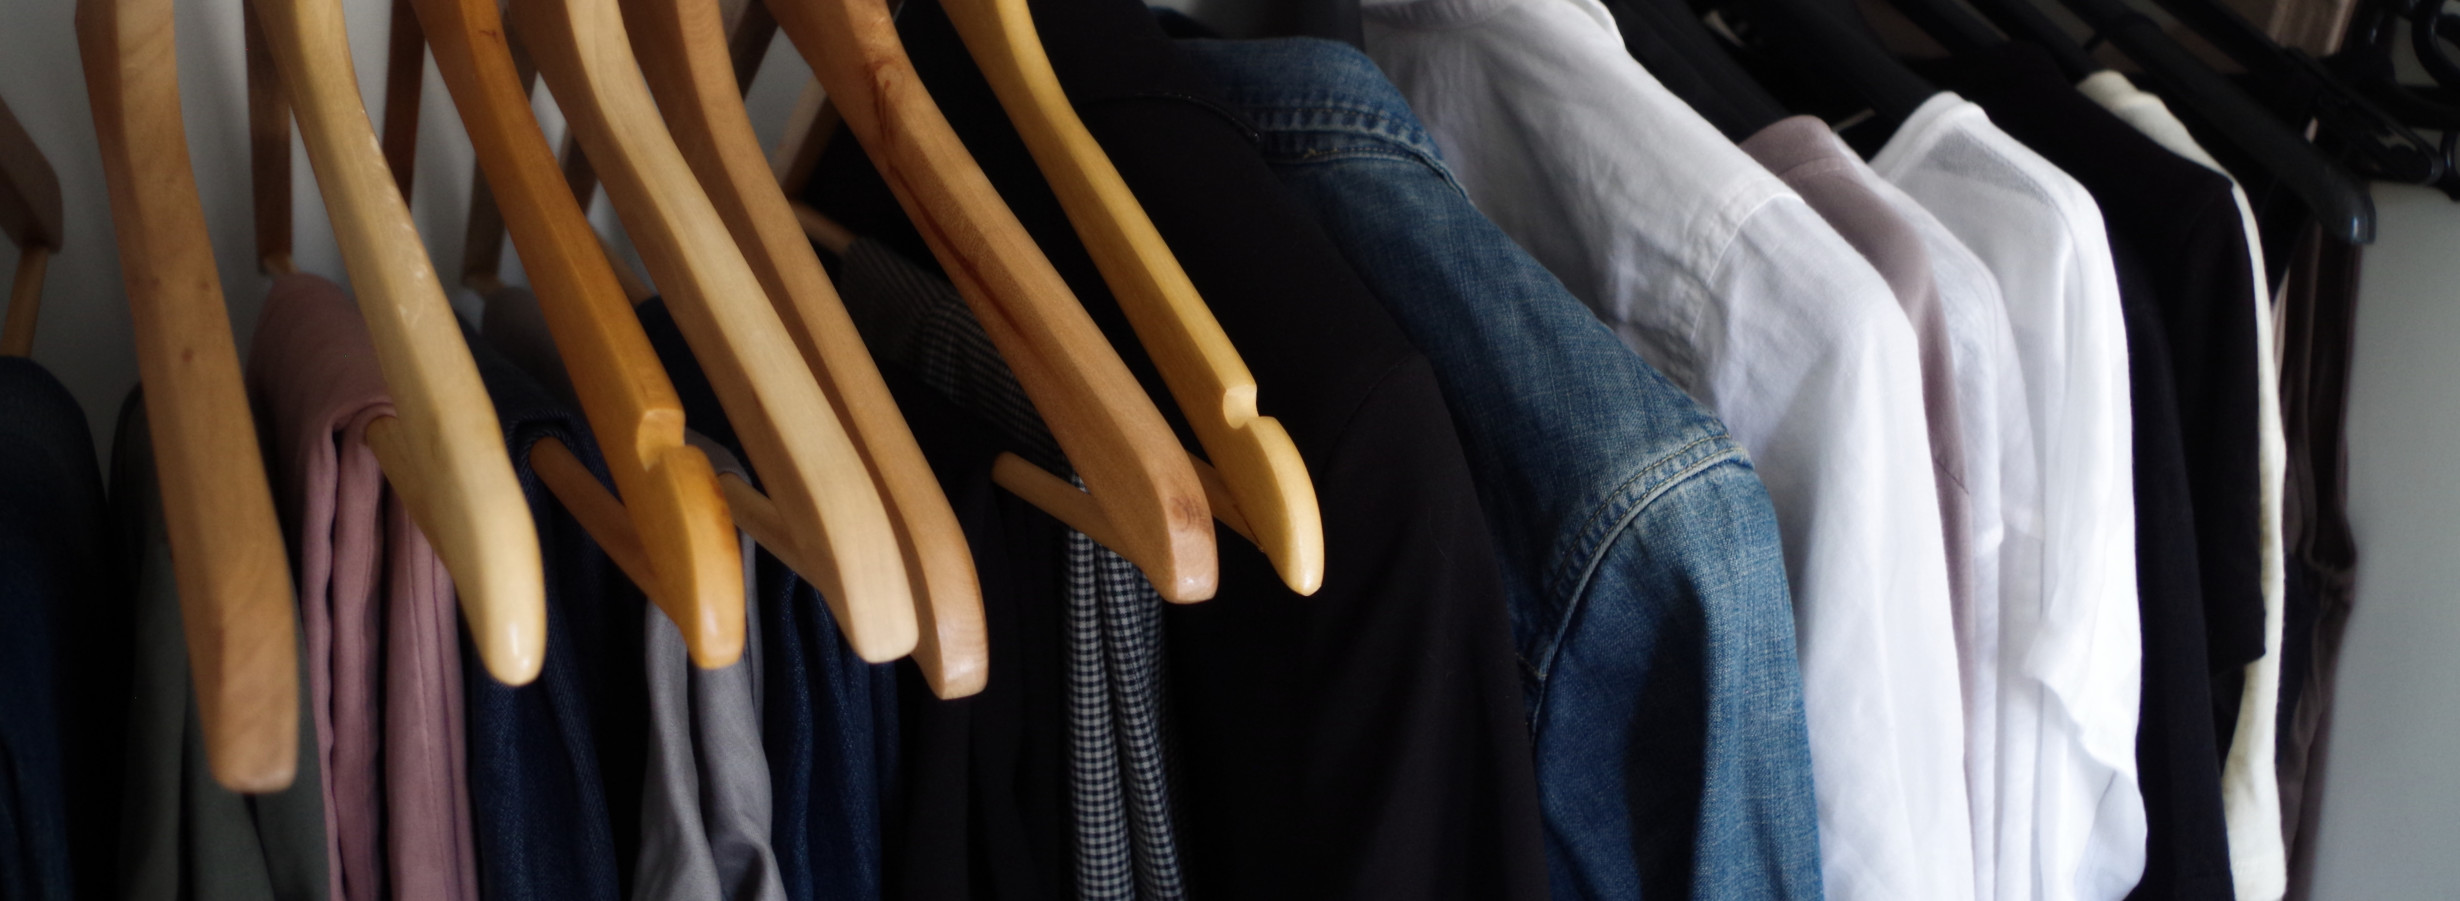
Yep, we're still focused on your closet! But today is likely the day when you'll breathe a clutter-free sigh of relief upon seeing what you accomplish. Decide your closet's organizational theme and then adjust accordingly. For example, group your clothes by color, by shade (light to dark) or simply by each category (shirts, sweaters, pants, jeans).
Day 19: Kids' Clothes Cleanout
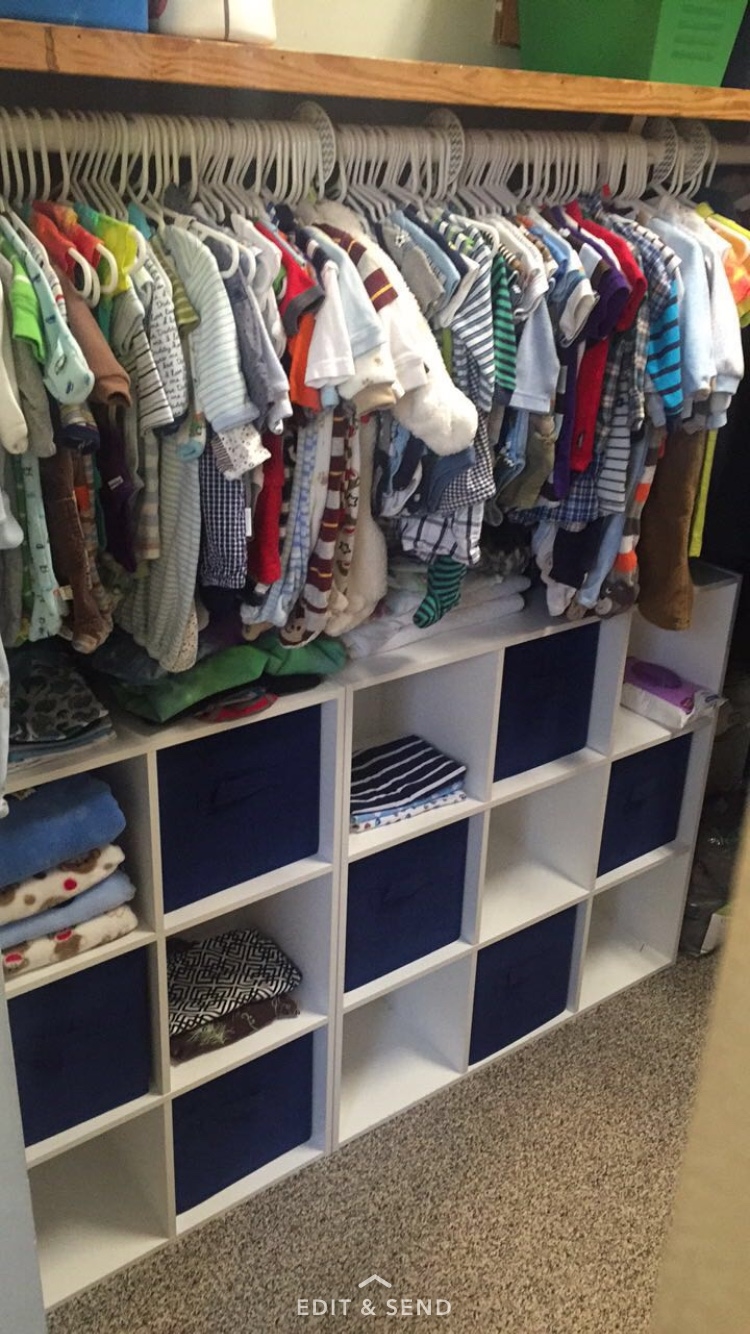
Apologies if your closet victory feels short-lived once you see today's task. But hey, it's best to keep that momentum going strong … right into the kids' closets. Do a solo pass first with the seasonal closet makeover, removing any clothes that you're sure no longer fit. Then have the kids join you in deciding what they truly like and wear, or what's best to donate.
Day 20: Kid Clothes Sorting
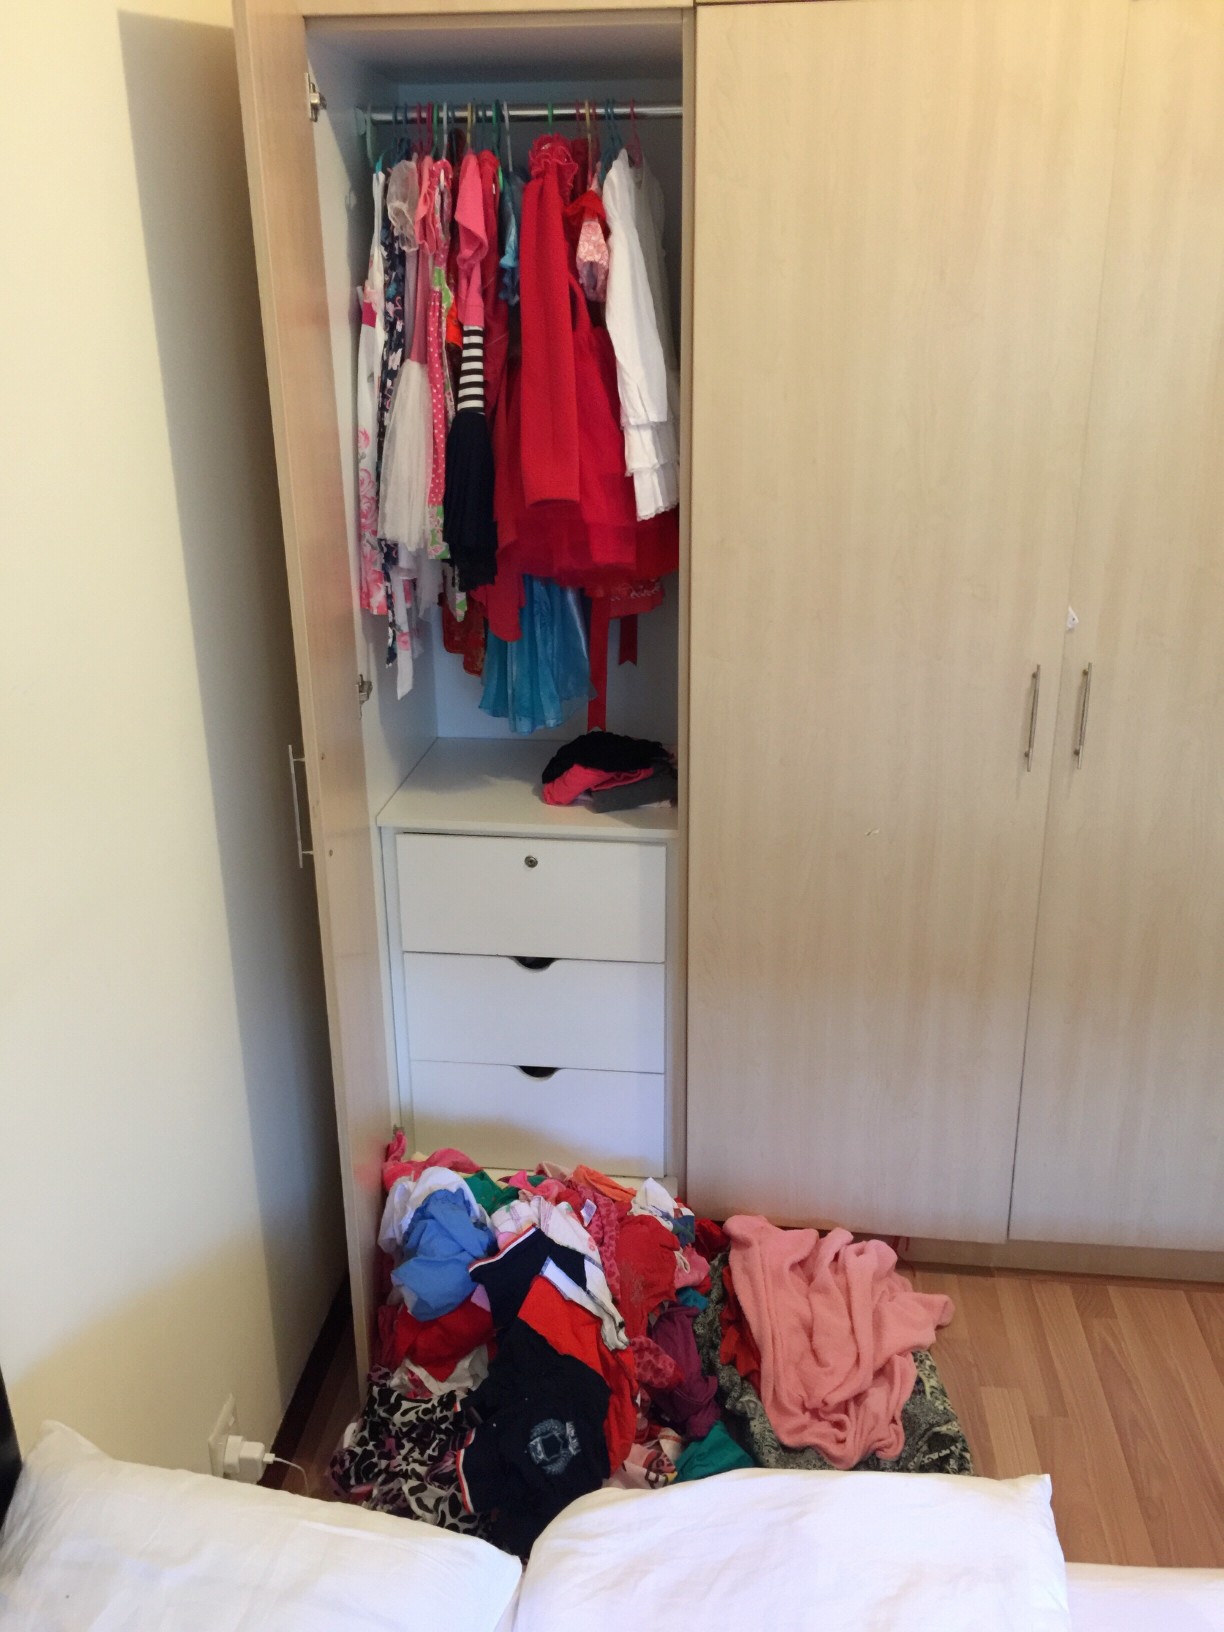
Repeat the same organizational techniques that you performed on your own closet with the kids' closets today. Pick a theme and have at it.
Day 21: Toy Clean-Out
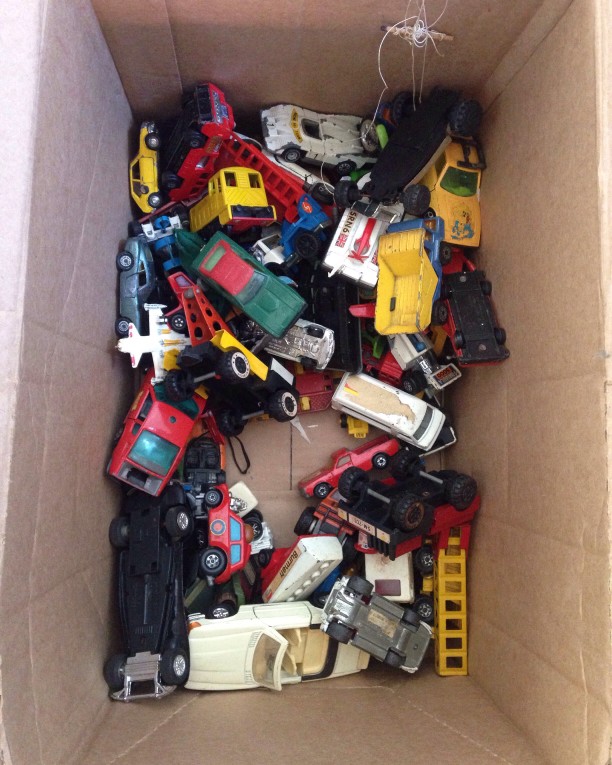
Like the closets, the toys can be equally intimidating. However, that just means it's going to feel twice as good once it's complete. But no need to fret, we'll break this one down too. Today, just identify the toys and activities with missing pieces or that no longer work. Recycle, donate or toss depending on their condition.
Day 22: Toy Sorting
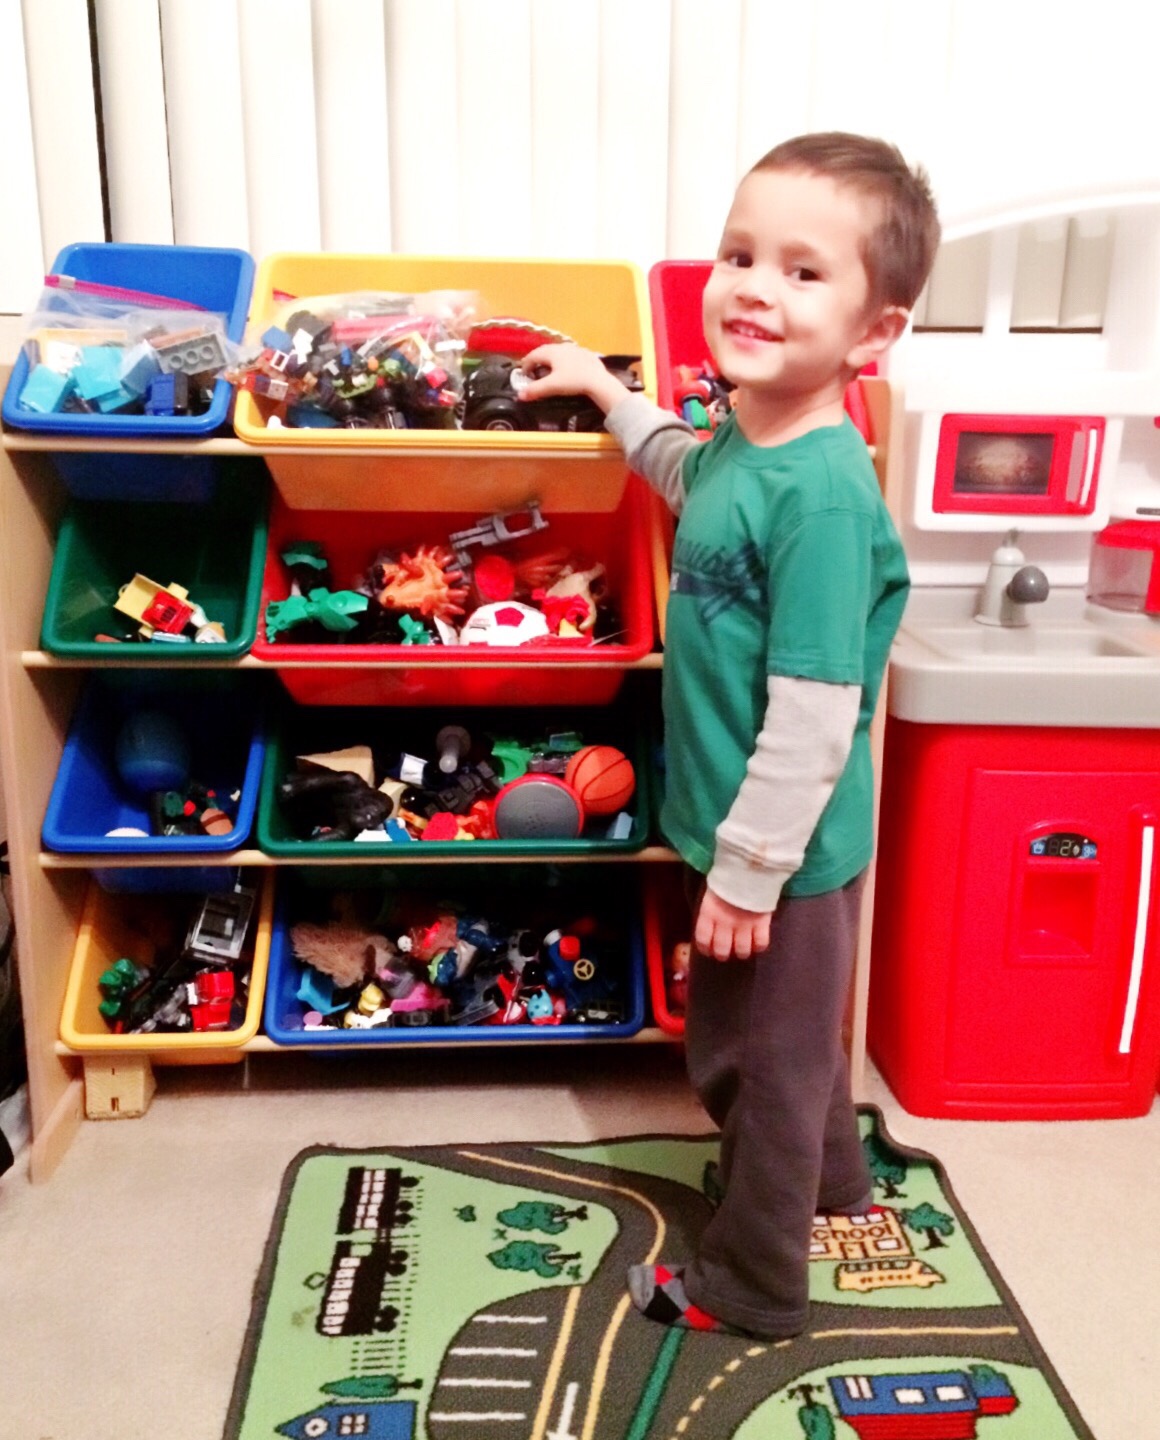
With the toys remaining from yesterday's elimination round, begin placing them in bins according to their category. This will keep the toys better organized and also help you get in the routine of "rotating" toys to keep them fresh and exciting for your kids. Put one bin in an easy-to-access place in the playroom (like a cubby) and then swap it out for another bin the following day. Note: You can easily accomplish this sorting activity while playing with your kids. It doesn't have to happen during naptime or bedtime.
Day 23: Bathroom Drawers
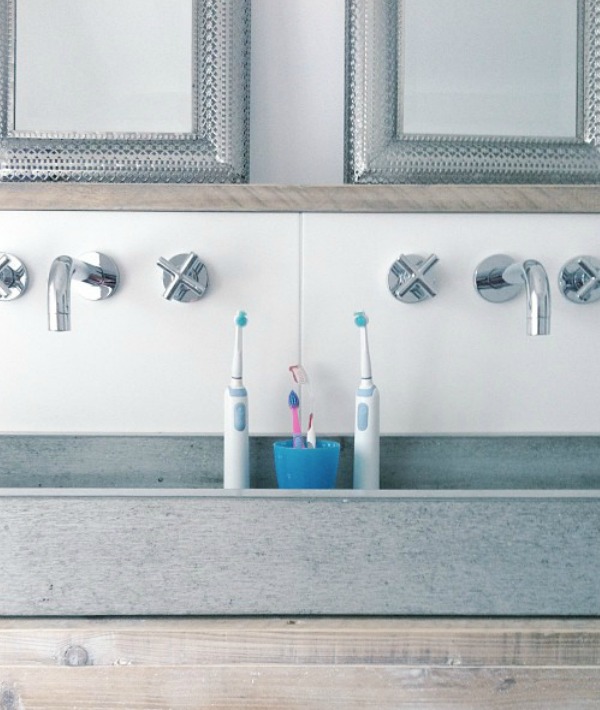
We're taking the party into the bathroom … specifically, into those clutter-packed drawers. Today, take your pick of the most daunting drawer and remove everything from it. Place the items you use daily in the most easy to access drawer (the toothpaste, floss, eye-glasses) and place every-so-often items in the lower drawers (nail polish remover, tweezers, cotton balls).
Day 24: Bathroom Counter
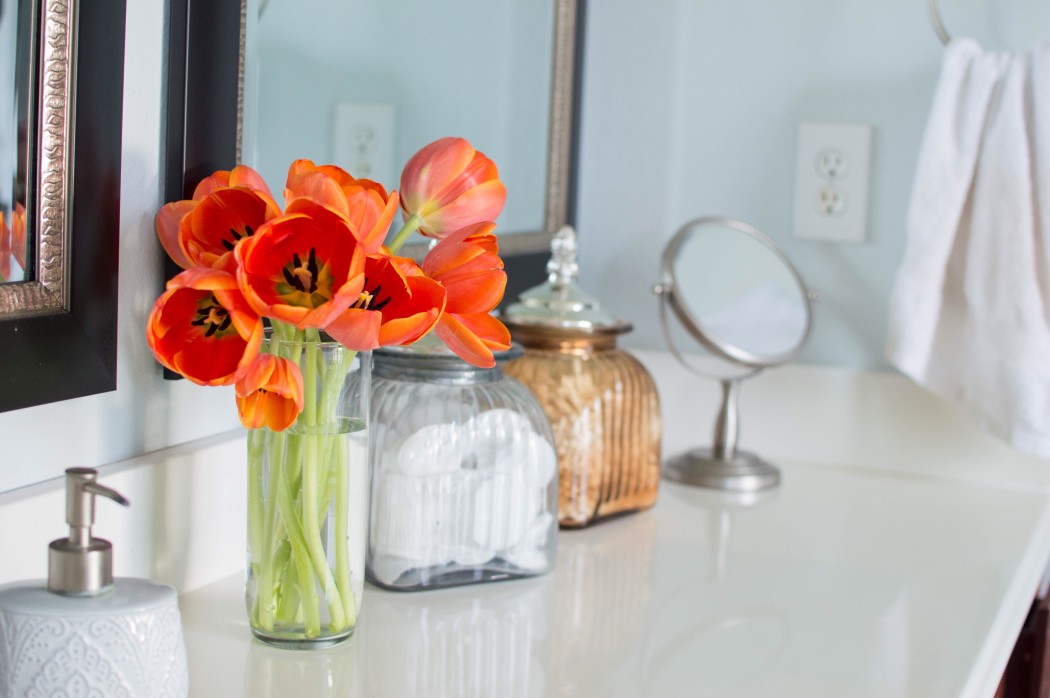
Now that the drawers are nicely organized, place all items from the bathroom counter into their respective areas. Start getting in the habit of always putting them back in its drawer or cabinet rather than leaving it out. Don't underestimate the impact a clutter-free bathroom counter can have on your morning.
Day 25: Medicine Cabinet

Go through your medicine cabinet and select any medications or prescriptions that are expired. Consult the FDA website for drop-off locations or for instructions on how to responsibly and safely dispose of it yourself.
Day 26: Toiletry Consolidation
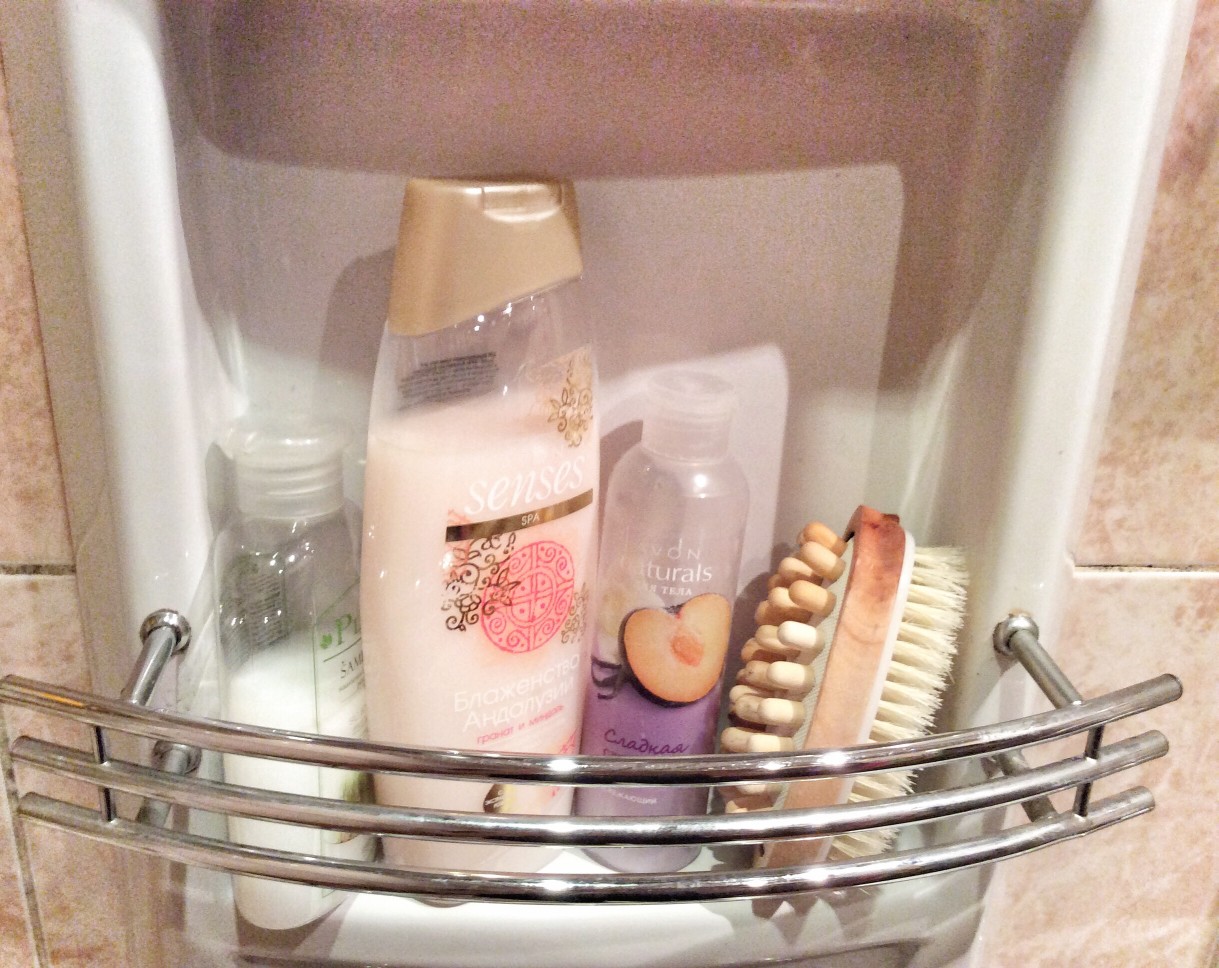
Similar to the pantry exercise, consolidate opened toiletries in your bathroom or shower. If the shampoo bottle is close to empty, add the remaining shampoo to the new bottle. Or pick one loofa you like best and remove the other one.
Day 27: Sort Storage
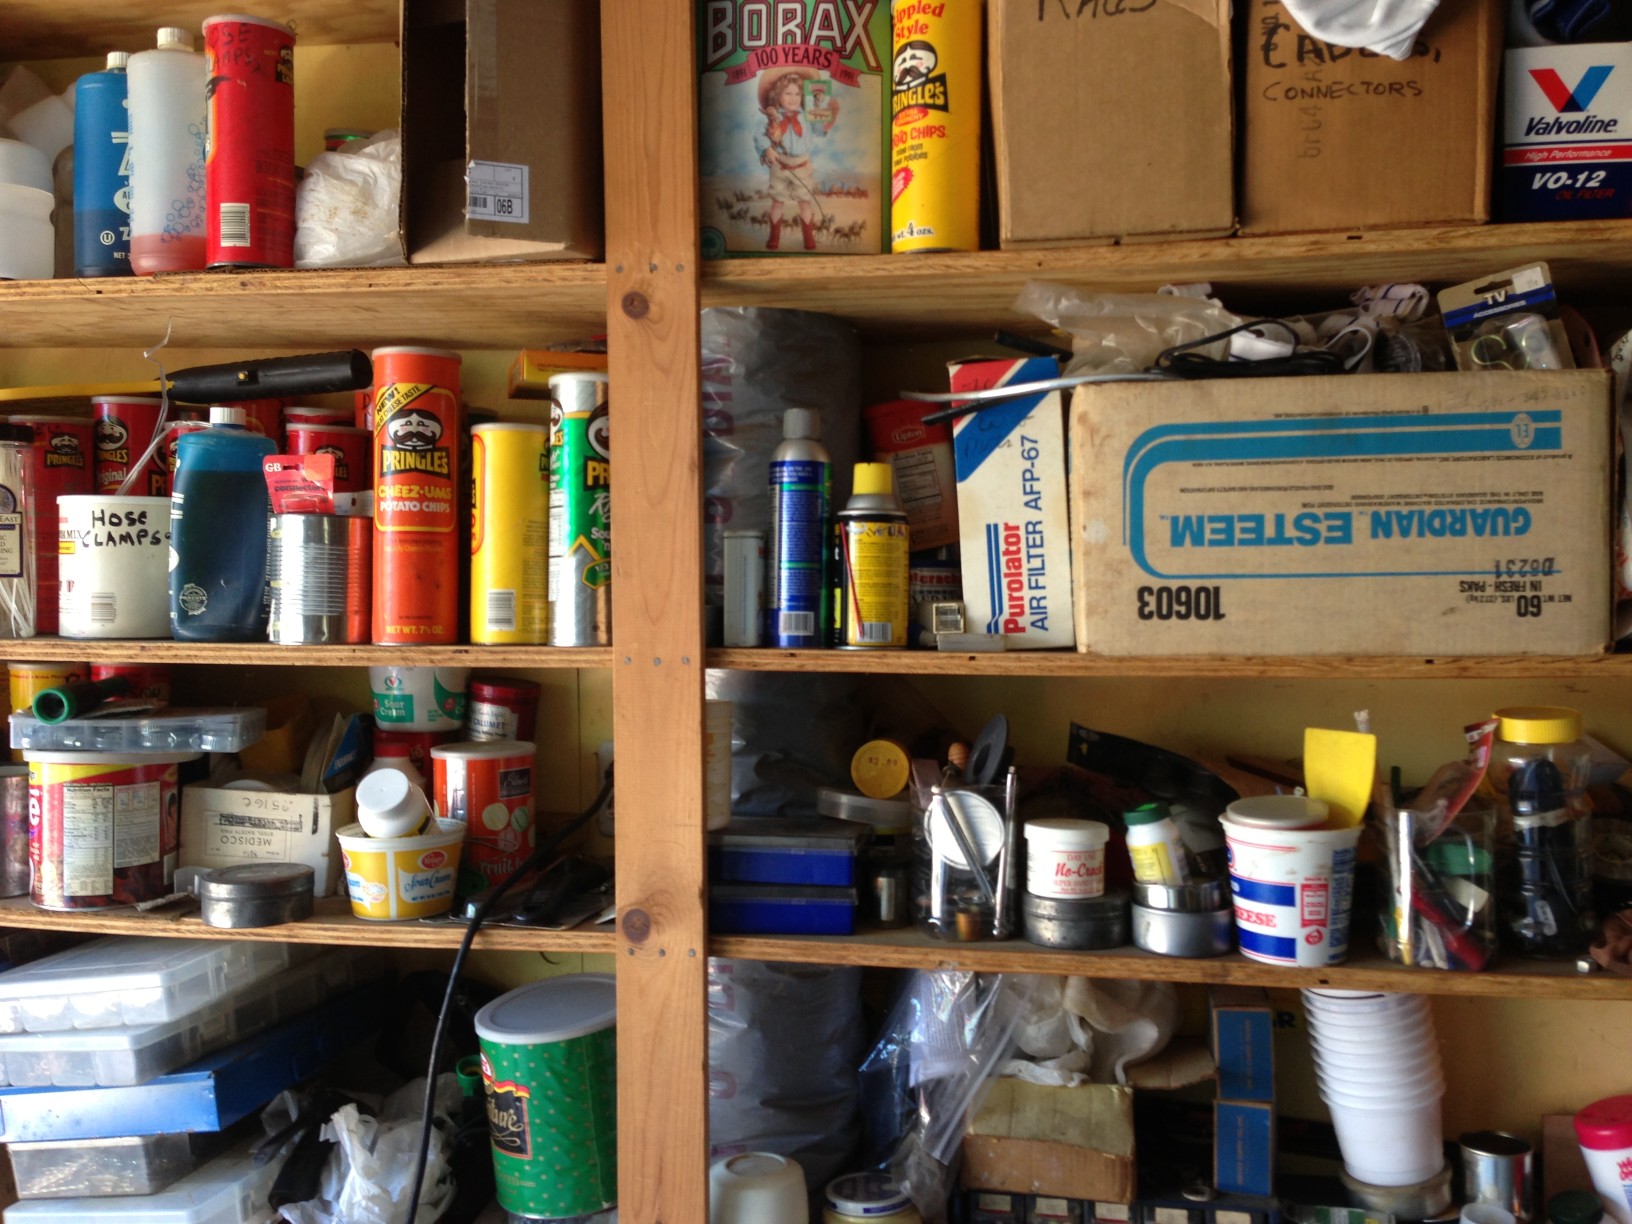
Moving into the garage or basement, it's important to start viewing these spaces as extensions of your house—not as a storage unit, says Donohue. To begin the de-clutter process in these spaces, start by sorting everything you have into general sections: camping gear, sporting gear, tools or holiday decor, for example.
Day 28: Tackle the Holiday Section
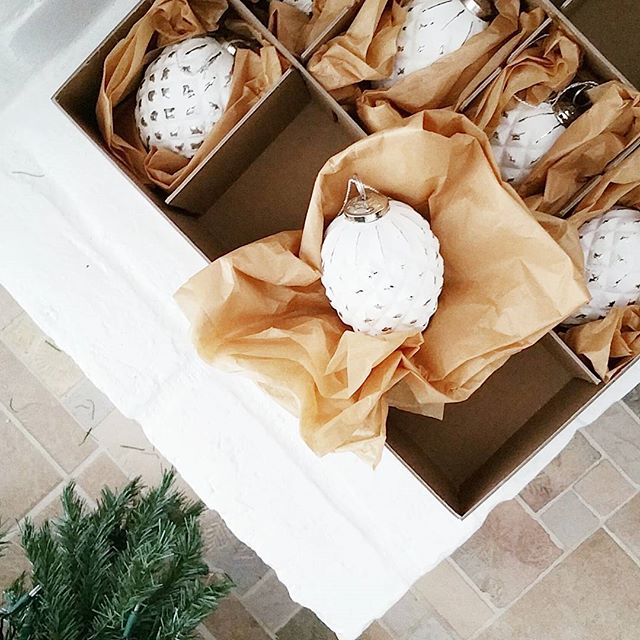
Today, focus on the holiday decor storage in the basement or garage. If there's an item you didn't use this year, it's likely an indication that your tastes have changed and that's OK, says Donohue. Let go, donate it and make room for something that will bring you joy next season.
Day 29: Tools Section
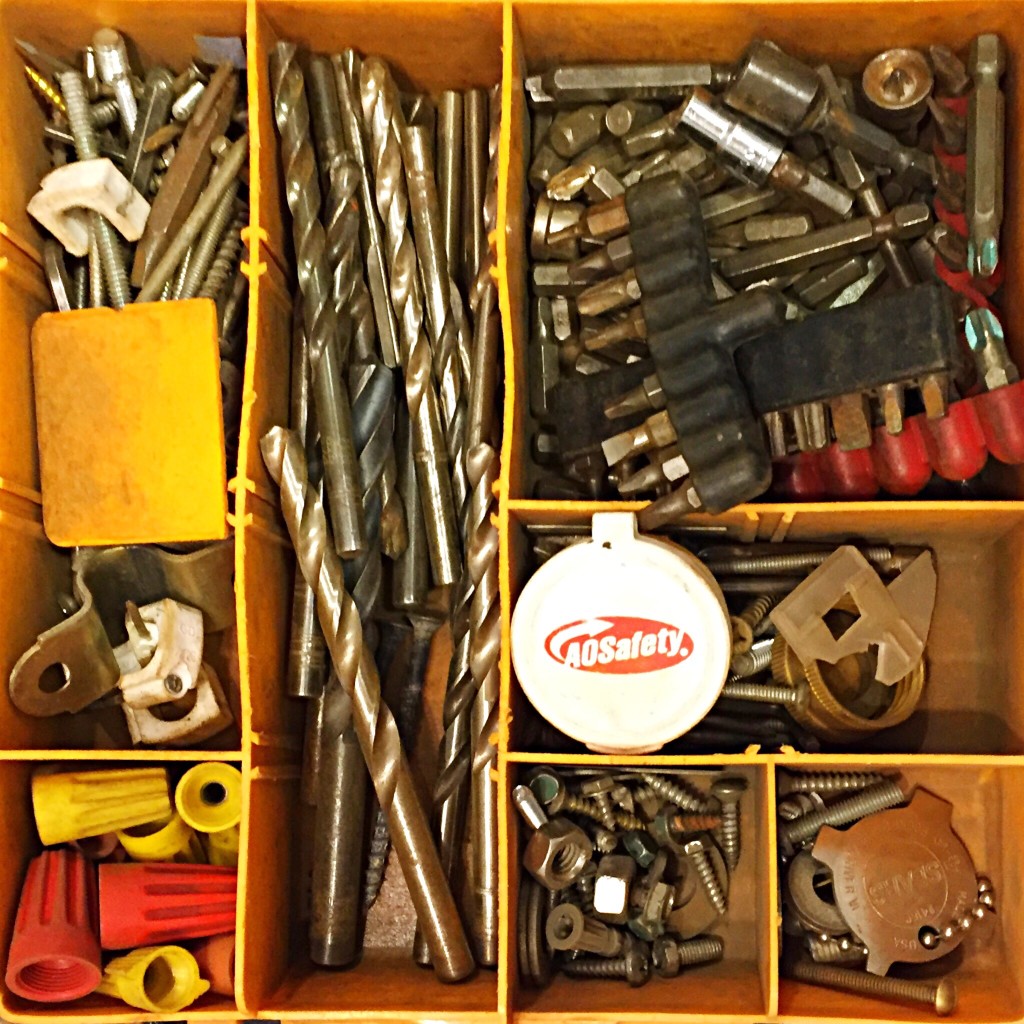
Similar to the cooking utensils or the mugs in the kitchen, look through your tool box for duplicates or rusted pieces. Pick the newest or most complete set and let that be your go-to. All else, donate or recycle.
Day 30: Sporting Section
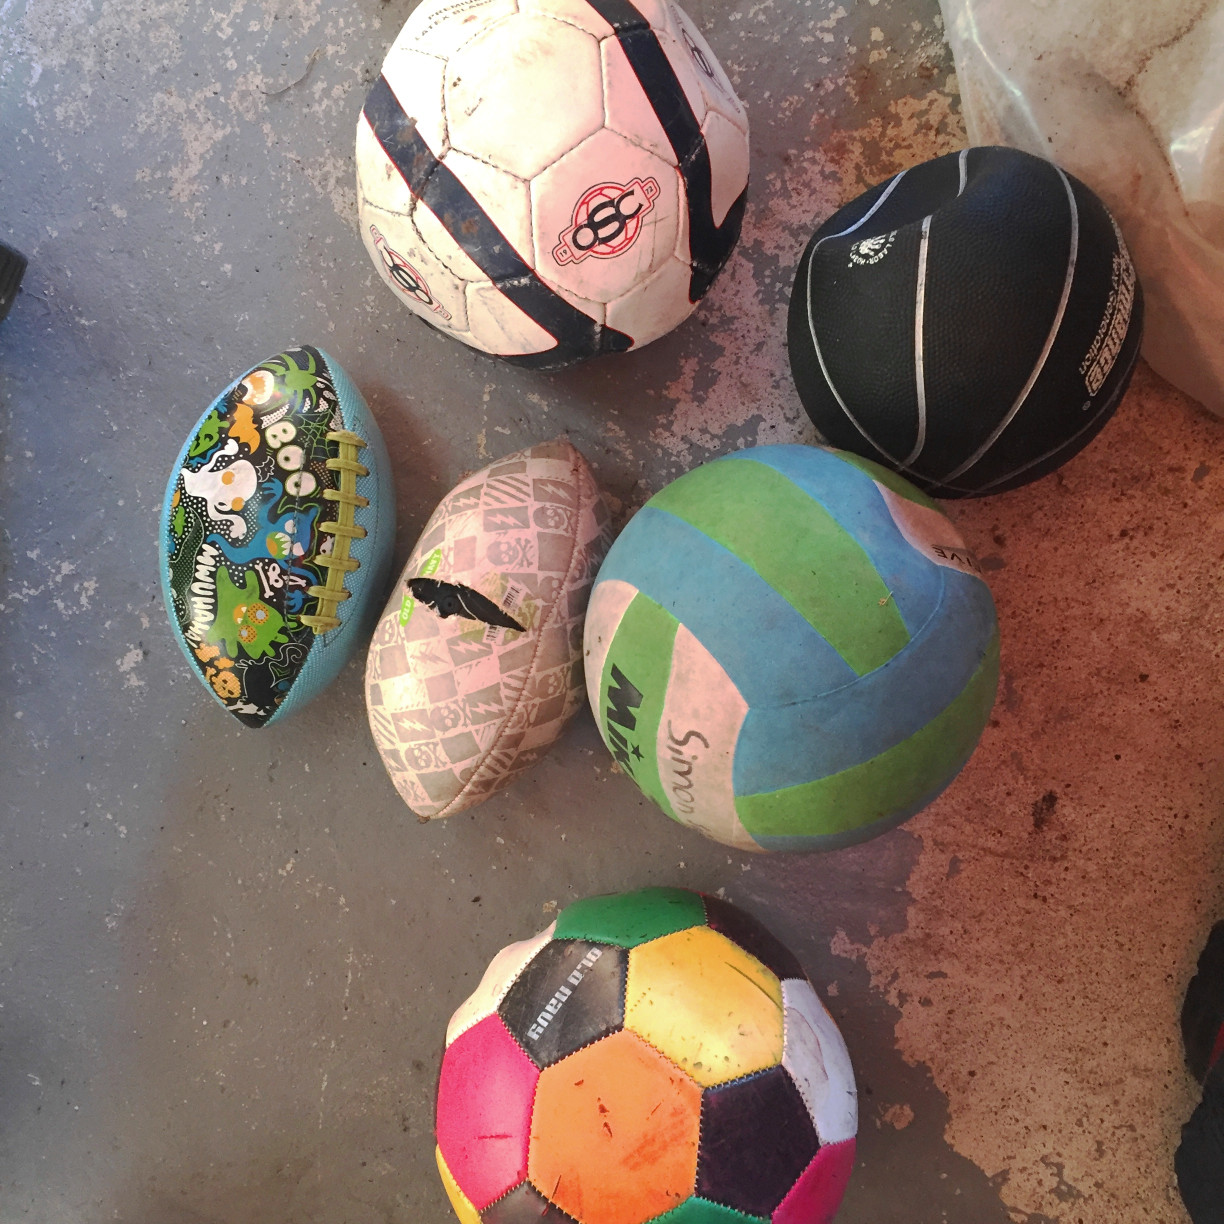
Cleaning this section out may be a bit tricky since sports vary season to season and your child's sport-of-the-moment can vary by day. Start with gear your children have outgrown. Then look for duplicates or broken gear. Make piles to fix, to donate and to keep.
Day 31: Drop Off Donations
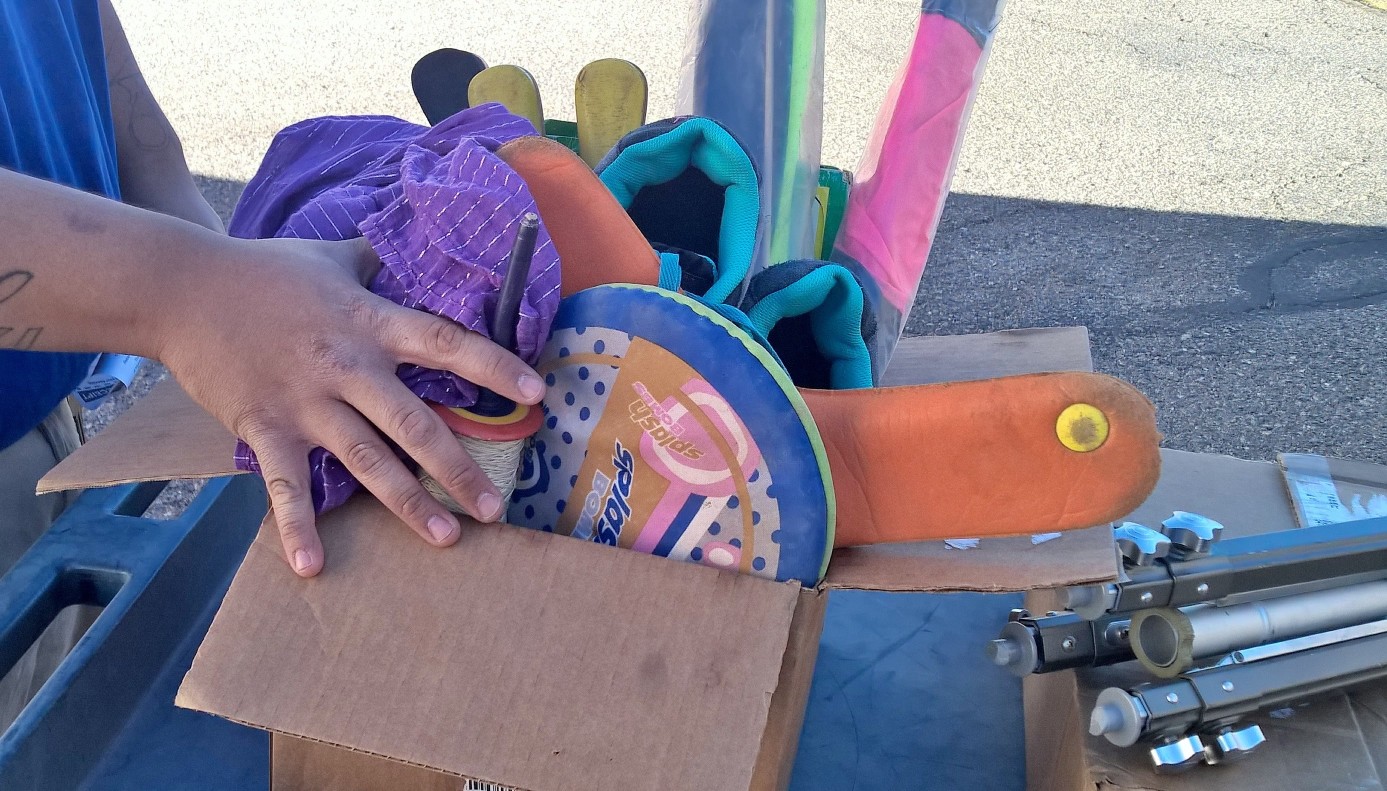
Today's the day! Drop off your donations and any hard-to-recycle items. Think of a fun way to reward yourself and your family for their participation. You've certainly earned it!
(For continued results, repeat in six months.)


