With back to school in full swing, we have a fun and engaging craft designed for young creators to fashion their very own stylish and functional pencil case without the need for a single stitch. This delightful project empowers kids to explore their creative instincts while crafting a personalized accessory that doubles as a fancy clutch!
What I love about this craft is that it helps develop fine motor skills and teaches the essence of sewing without a sewing machine, needle, or thread. With its sleek yet playful design, this no-sew masterpiece doubles as a stylish accessory and a practical storage solution. Whether it's holding pencils, markers, or other treasured art supplies, the pencil case stands as a symbol of creativity and accomplishment.
Check out the steps below, as well as all the items you need to complete this craft.

Step 1: Fold the faux leather sheet into thirds so you have a front, back, and a flap.
Step 2: Punch holes along the sides through both the front and back. Do not punch holes in the flap. Space holes about half an inch apart.

Step 3: Cut the string in half so that you have two pieces. Fold one piece in half.
Step 4: Thread folded end of string through the bottom holes, and pull through so you have a loop.
Step 5: Thread the ends of the same string through this loop and pull tightly.
Step 6: Continue threading the ends of the string through each hole, all the way up the side to the top.

Step 7: Tie a knot at the top and cut off any excess string.
Step 8: Repeat steps 4–6 on the other side.
Step 9: When you reach the top, tie a knot. Instead of cutting off the excess, create a write strap by tying another knot at the end of the strings.
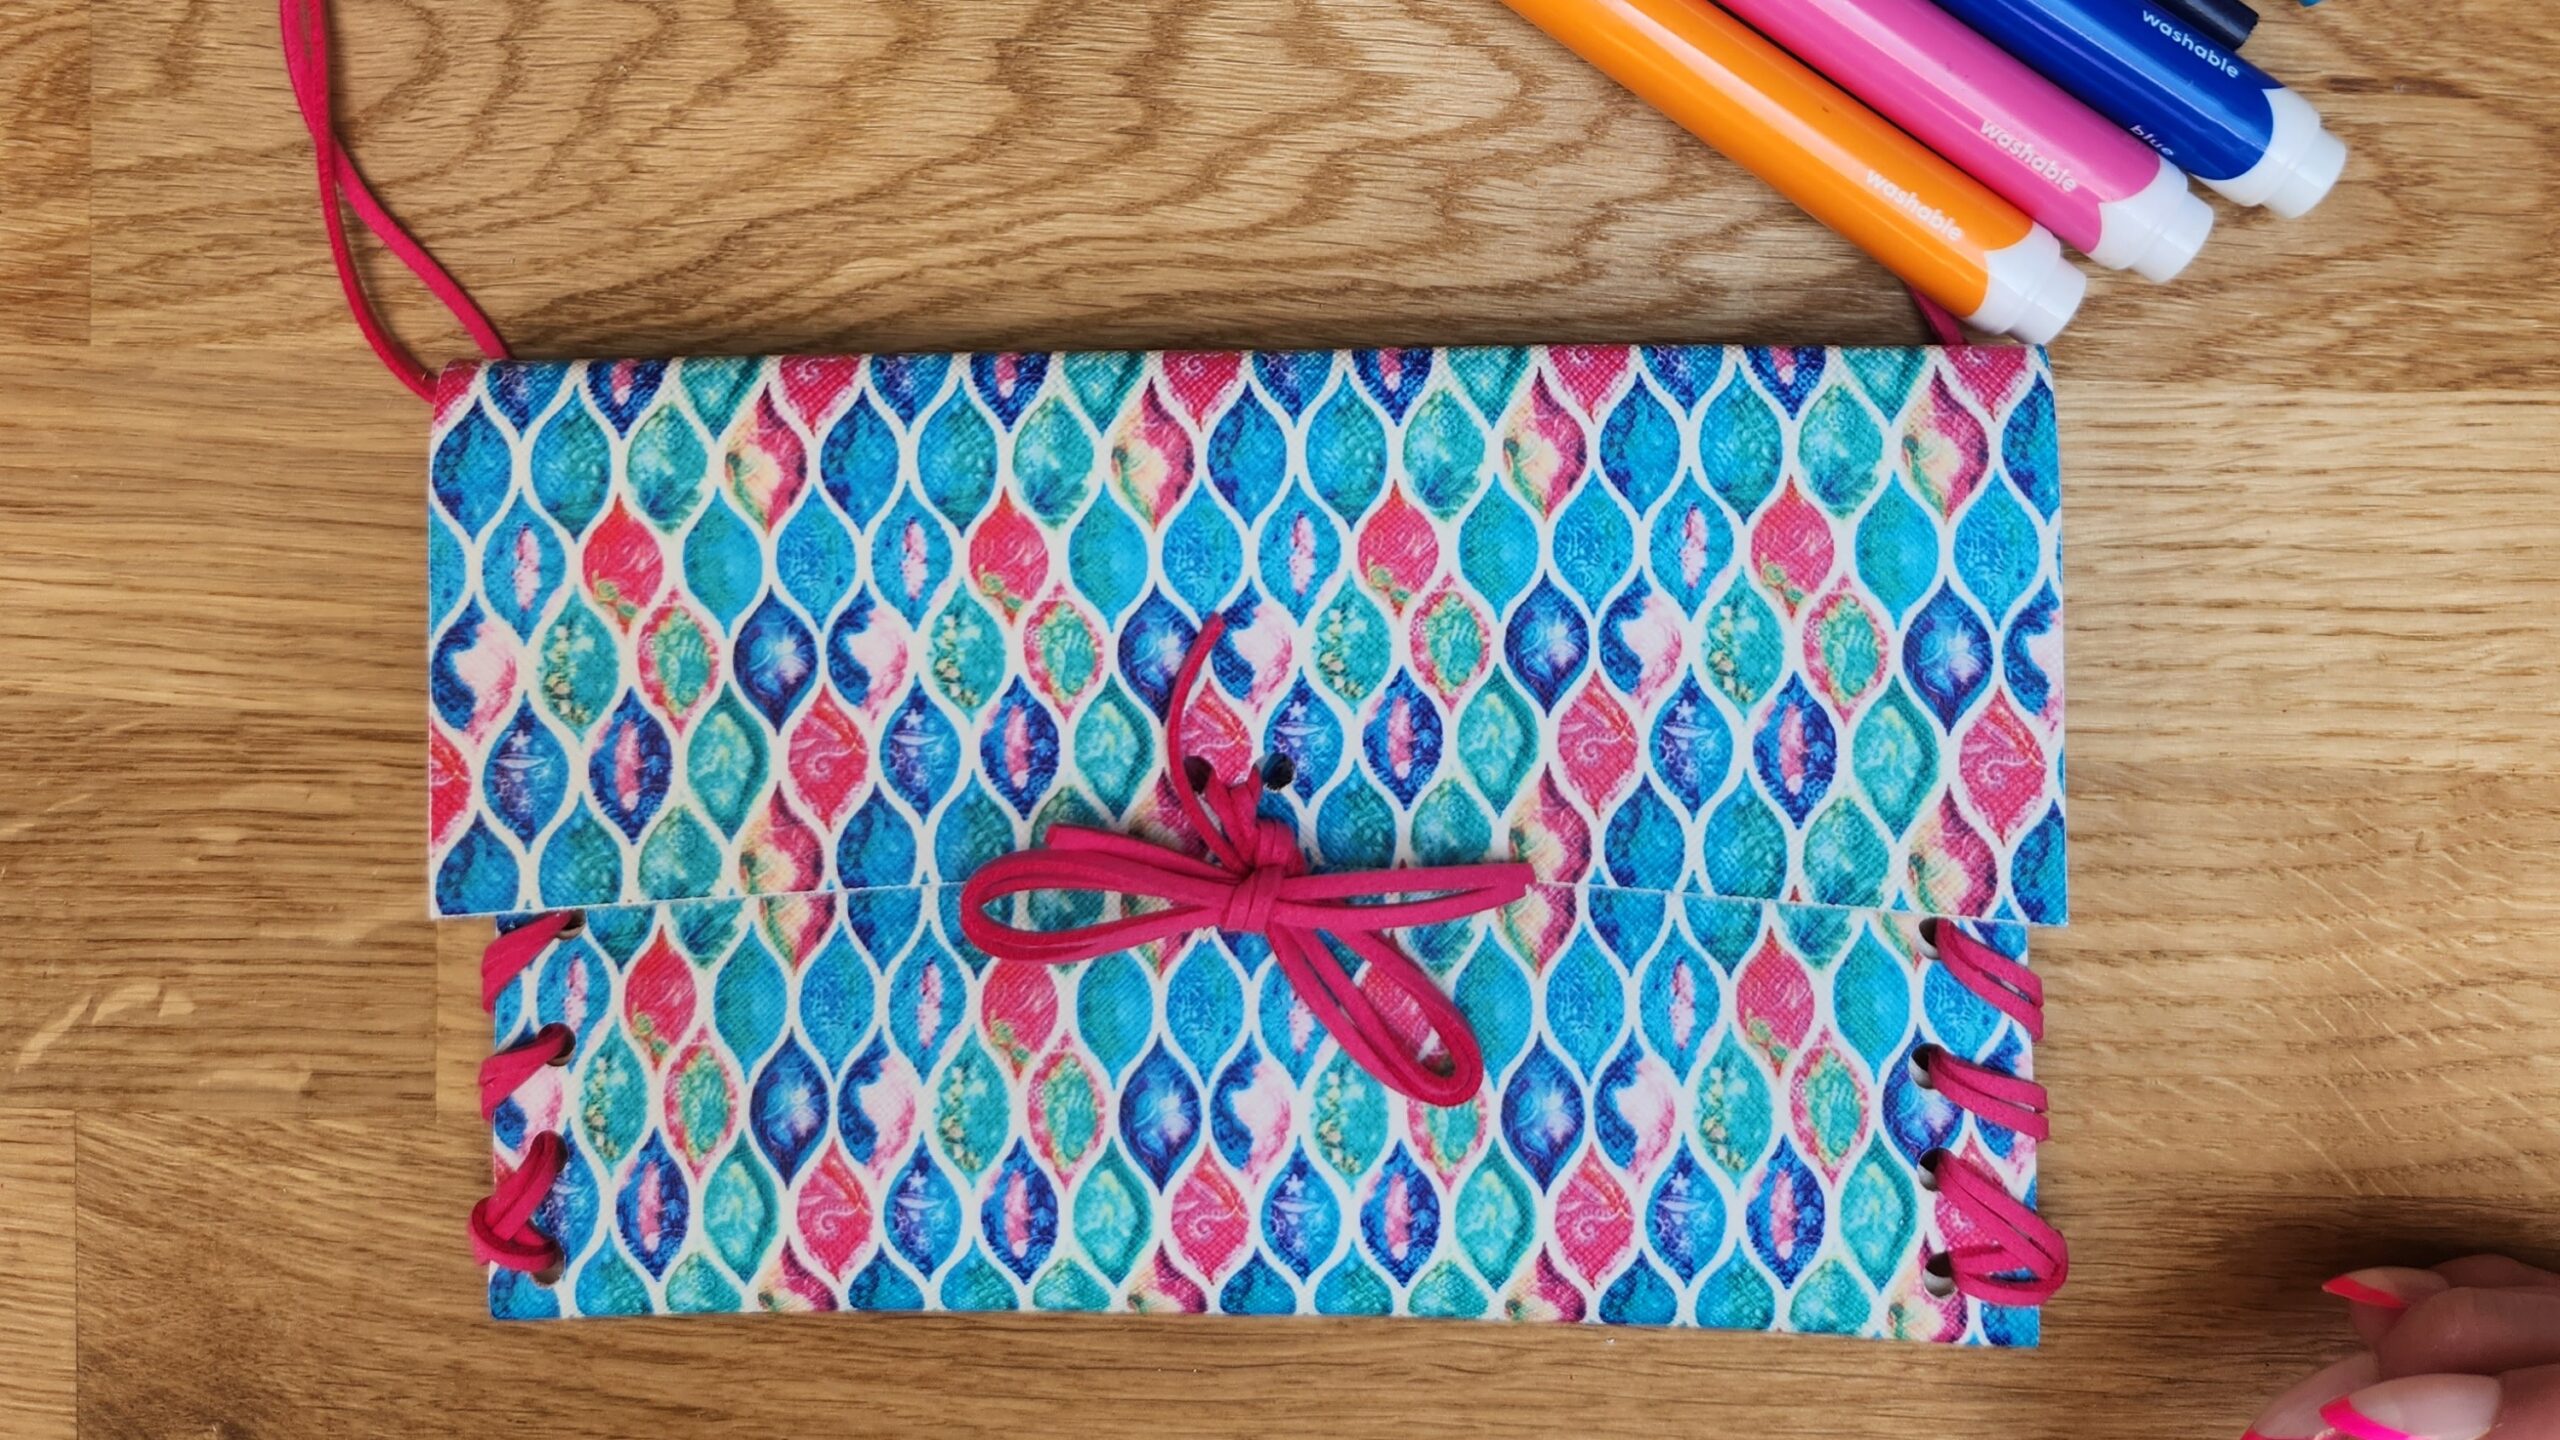
Step 10: Add Velcro to the top flap for a closure or follow the video to see how to create a flap that ties down.